Setting up MySQL-DB with Spring data JPA
Introduction#
In this article, we'll cover how to set up MySQL as the database for your Spring Boot application using Spring Data JPA. We will go through installing MySQL, configuring it with Spring Boot, and creating an example entity to connect with the database.
1. Installing MySQL#
To get started, follow these steps to install MySQL:
Download MySQL
Download the MySQL installer from the official https://dev.mysql.com/downloads/installer/ website.
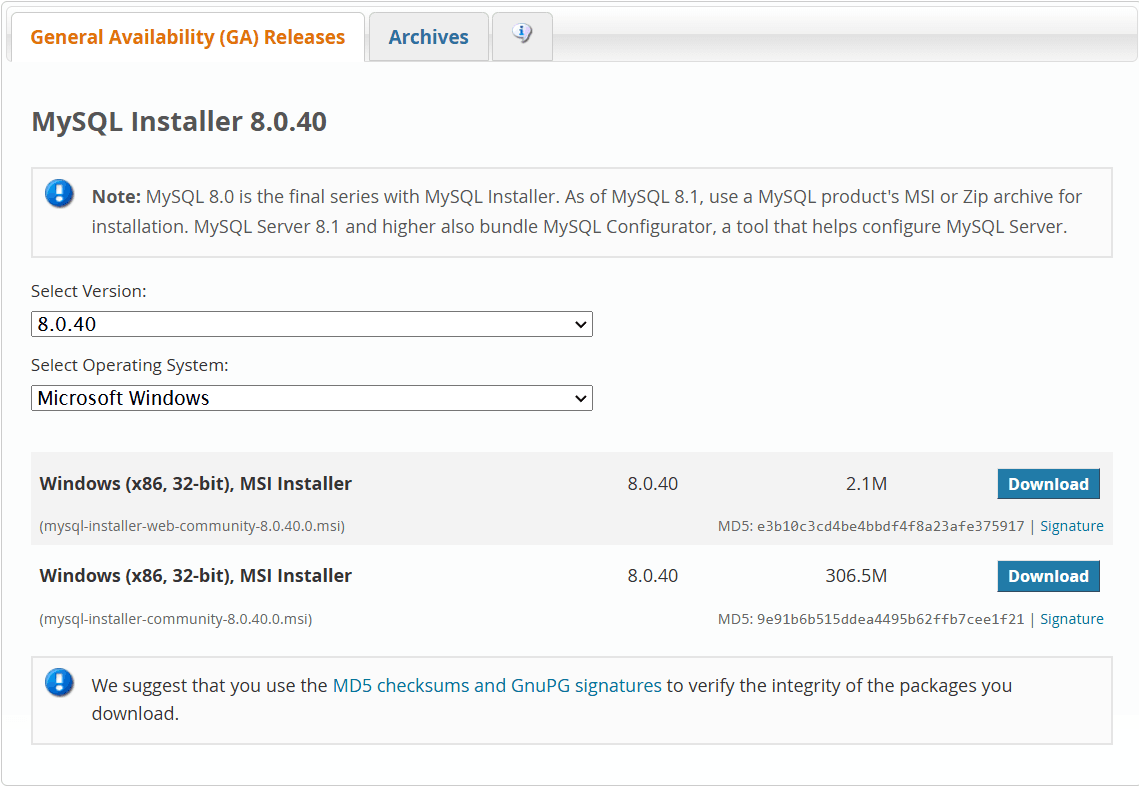
You will see two options select the 2nd option.
Unzip the file and double click on MSI installer .exe file the installation will start.
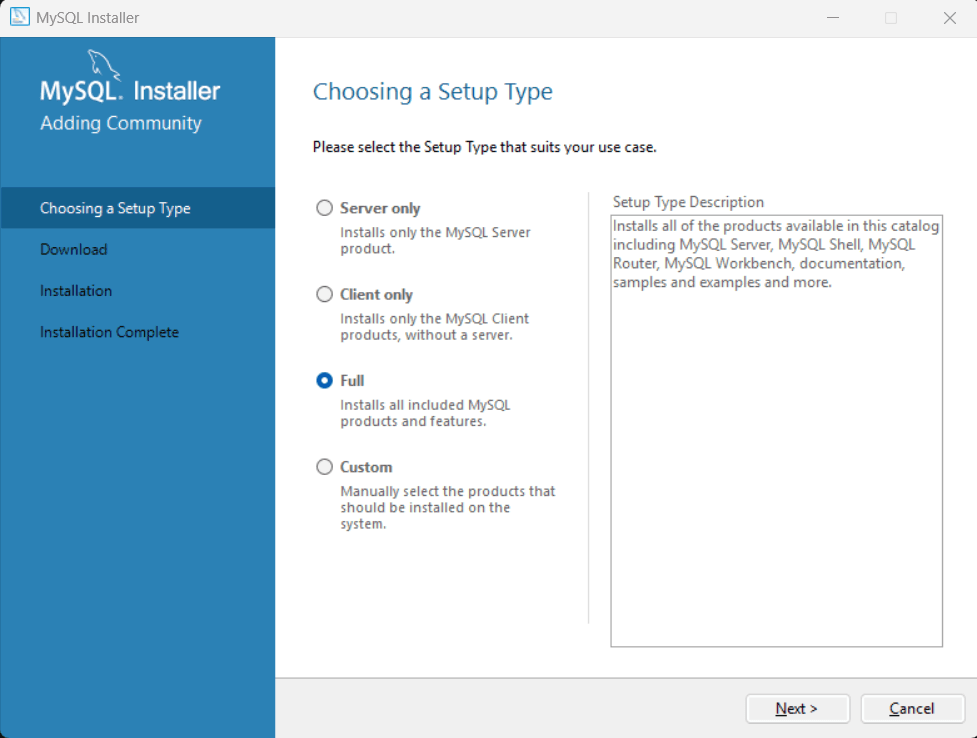
After installation, In the next wizard, choose the Setup Type, select Full and click next button.
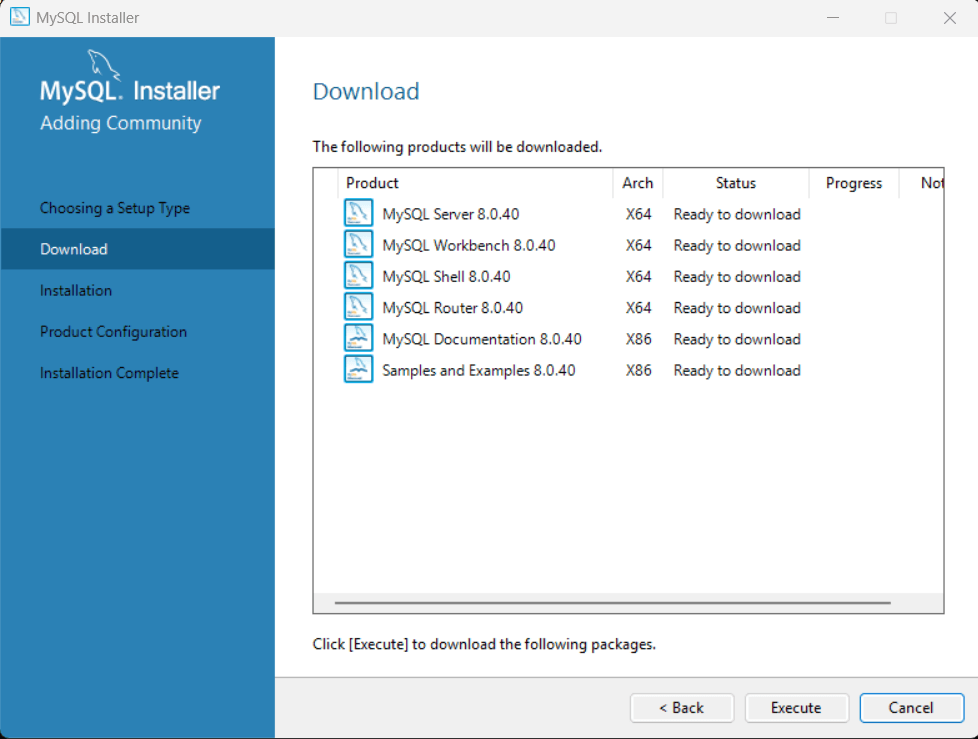
In the next wizard you will see the mysql products that will be downloaded click on execute button to download all,
After download is complete simply click on next button
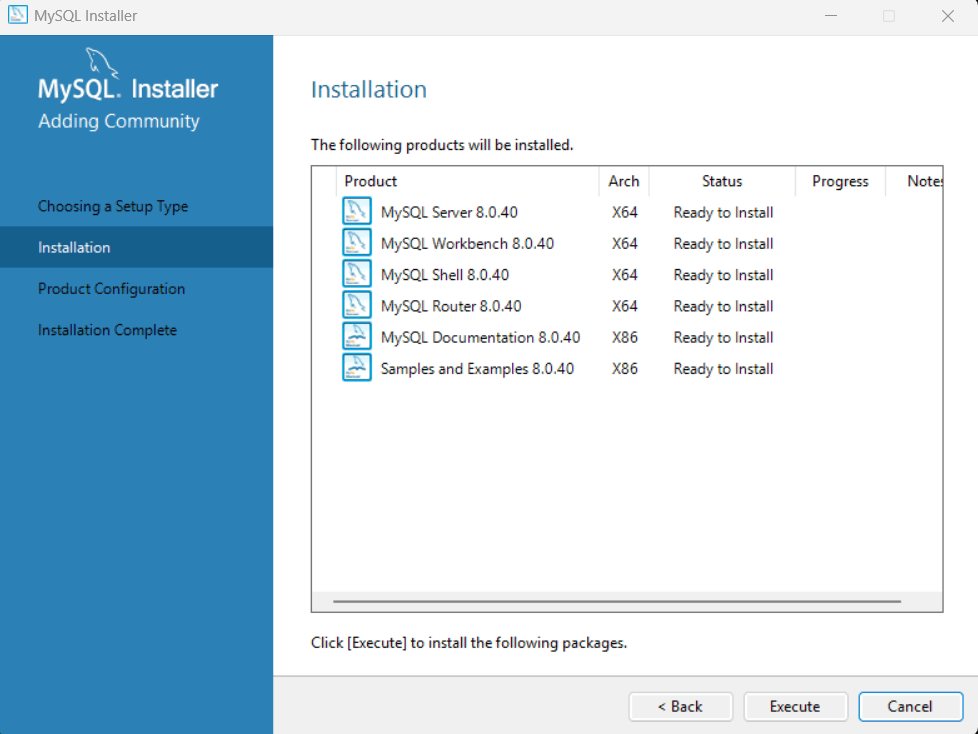
In the next wizard you have to click on execute button to install all the downloaded products
This will take time to install all the mysql products after installation is complete simply click on next button.
In the next wizard you will see the mysql product configuration for all the products which are installed
Just click on next button to start configuring all mysql products.
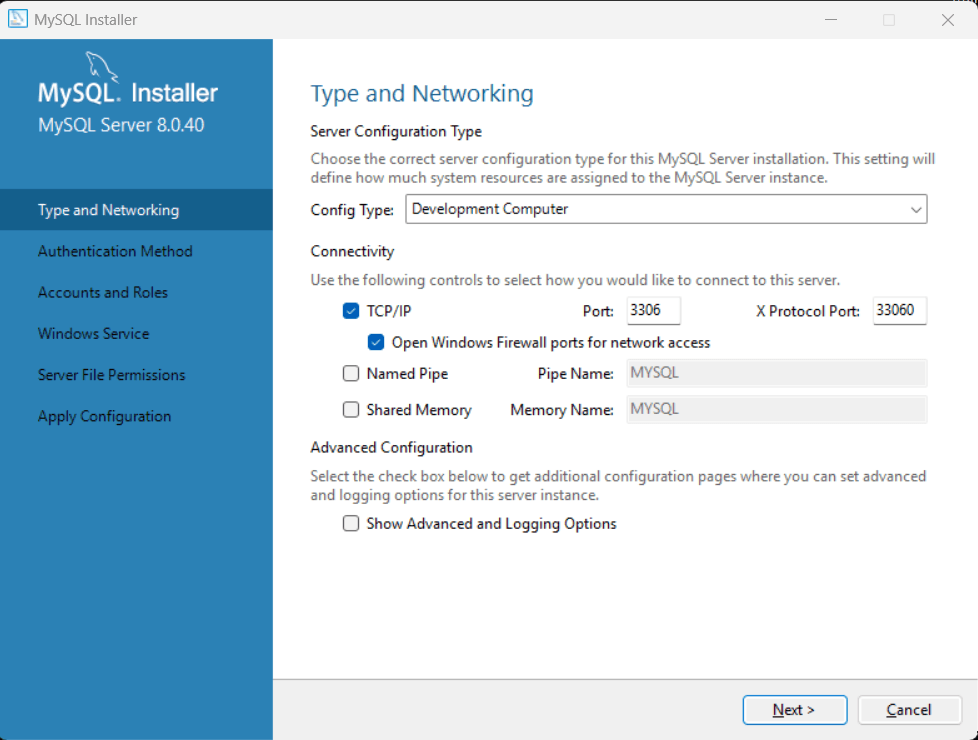
In the next wizrd you have to setup networking configuration for mysql server
The system will ask you to choose the Config Type and other connectivity options. Here, we are going to select the Config Type as 'Development Machine' and Connectivity as TCP/IP, and Port Number is 3306, then click on Next.
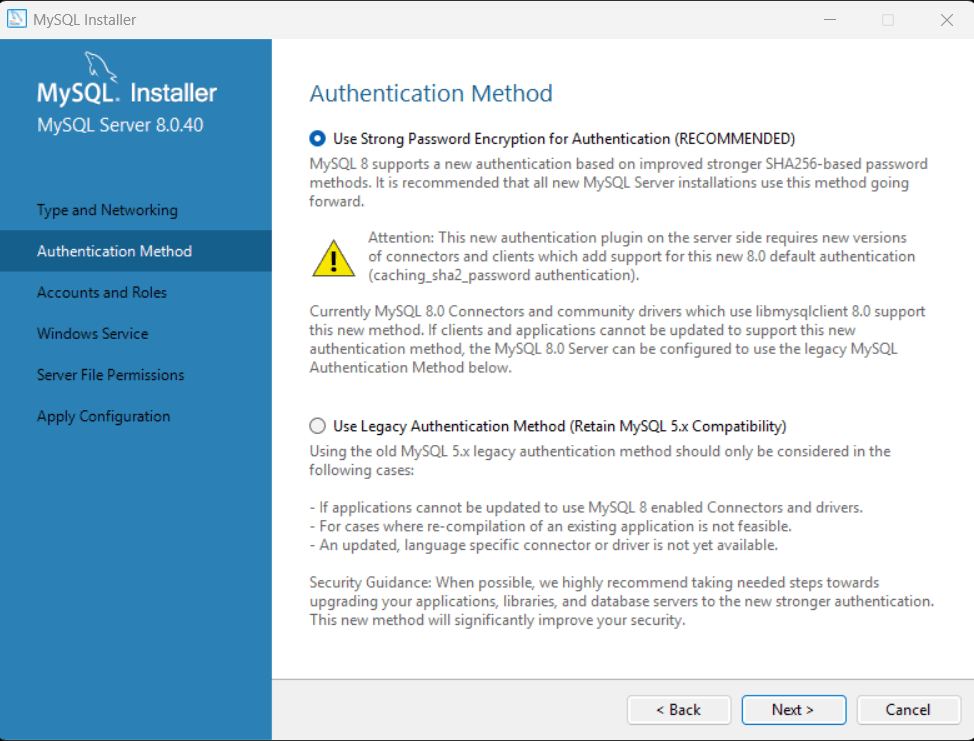
Now, select the Authentication Method and click on Next.
Select first one which is recommended.
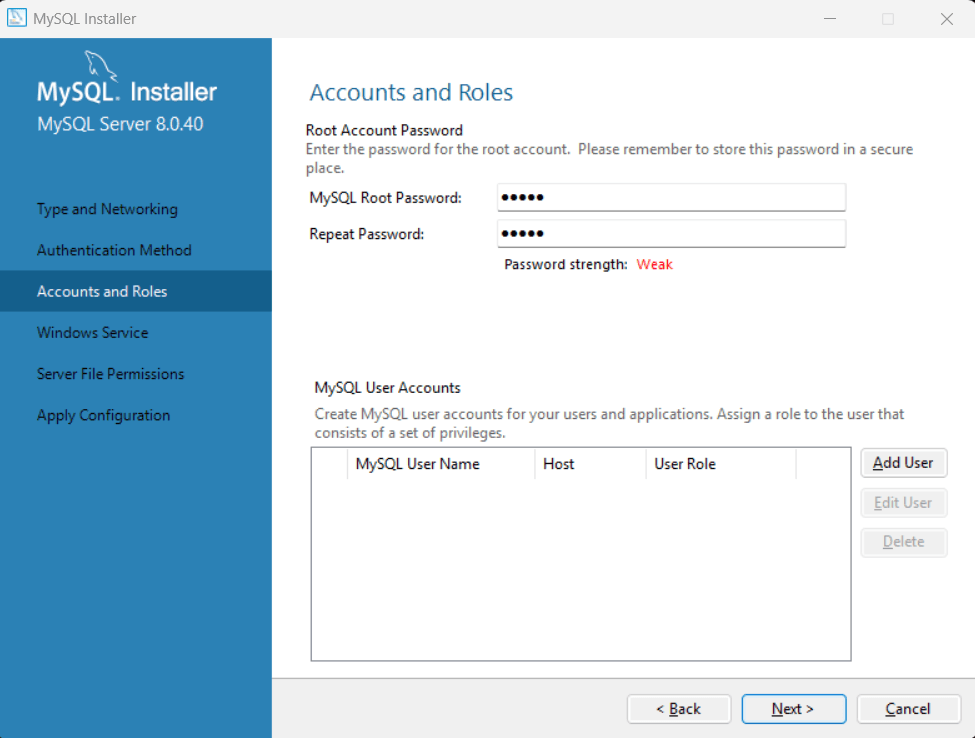
The next screen will ask you to mention the MySQL Root Password. After filling the password details, click on the Next button.
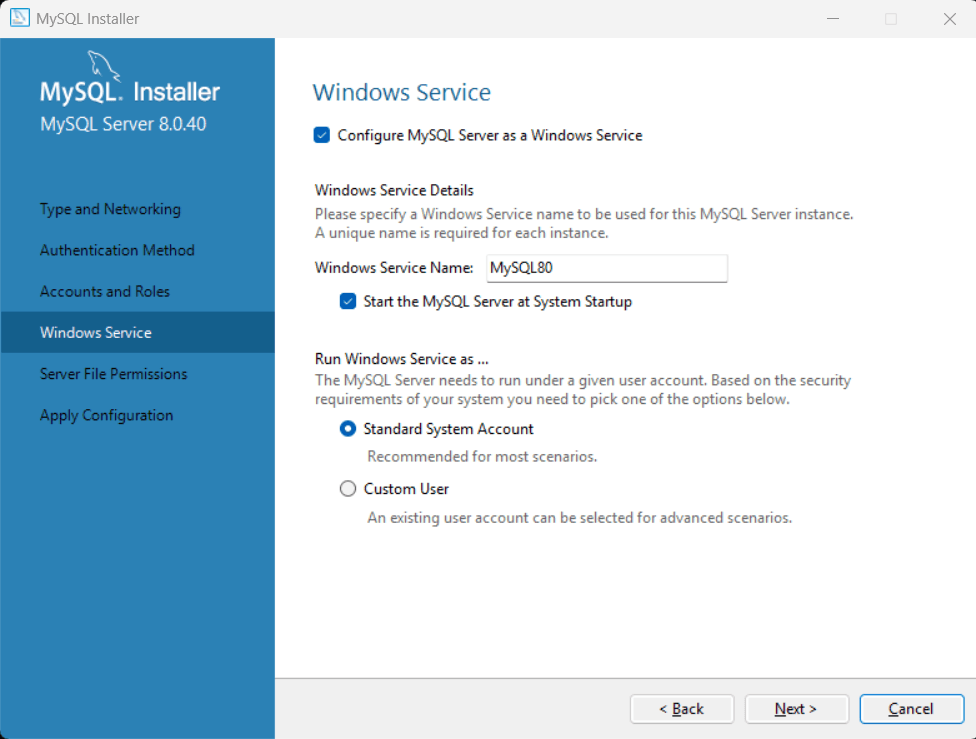
The next screen will ask you to configure the Windows Service to start the server.
Keep the default setup and click on the Next button.
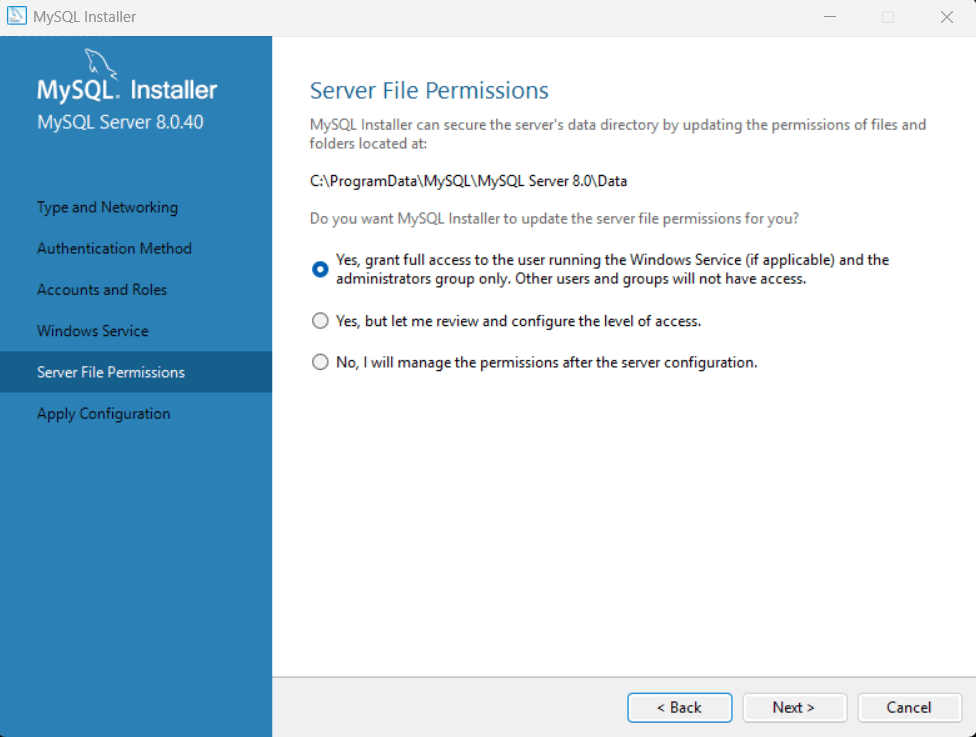
The next screen will ask you to select server files permission.
Select grant full access to the user and click on next button.
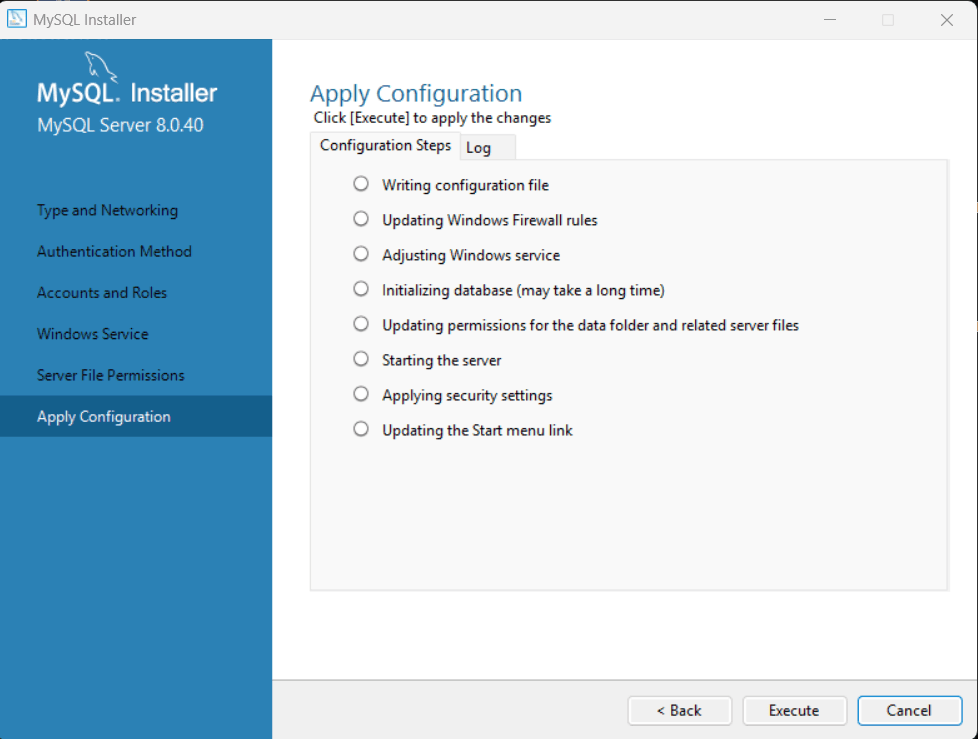
In the next wizard, the system will ask you to apply the Server Configuration, click on the Execute button.
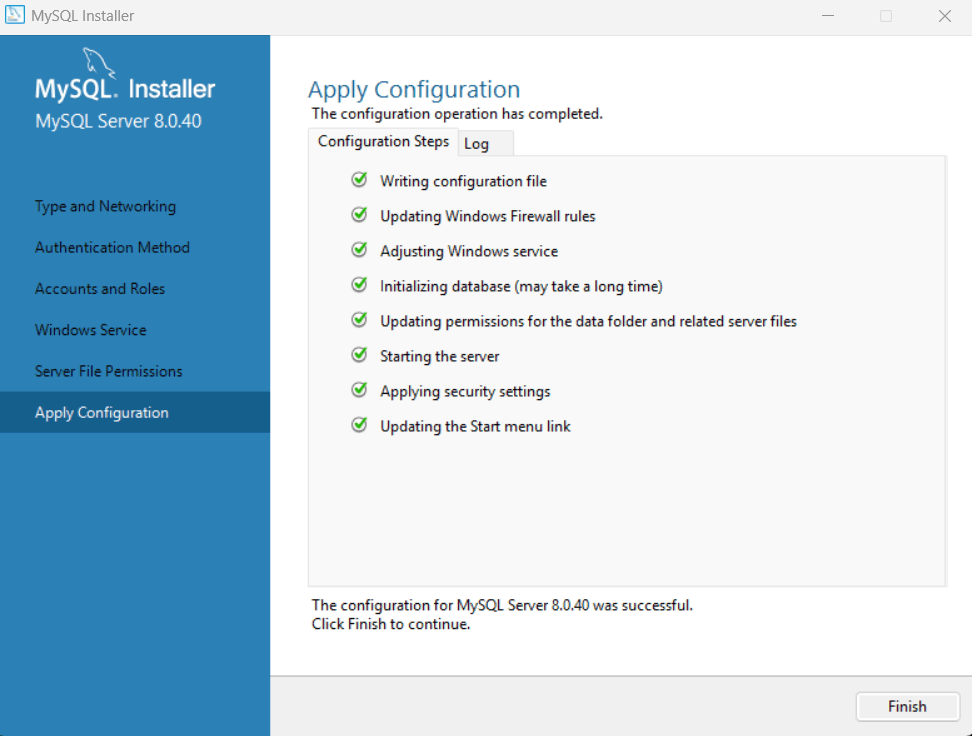
Once the configuration has completed, Now, click on the Finish button to continue.
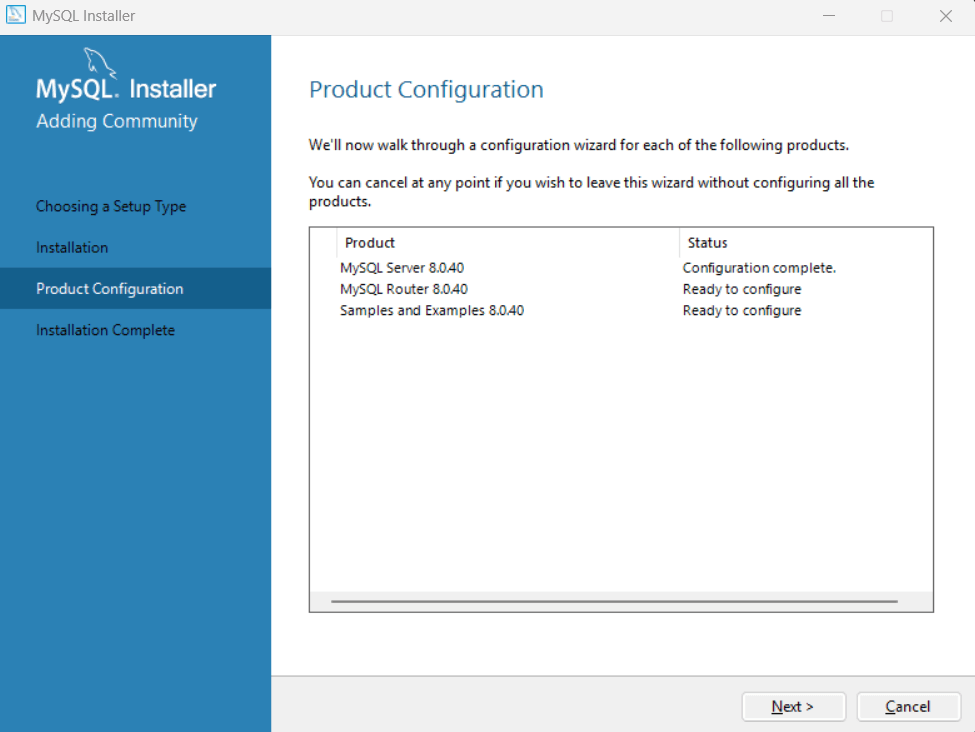
In the next screen, you can see that the Product Configuration for MySQL server is completed.
Click on next button to start configuring MySQL Router
In the next wizard, we can choose to configure the Router. So click on Finish and then click the Next button.
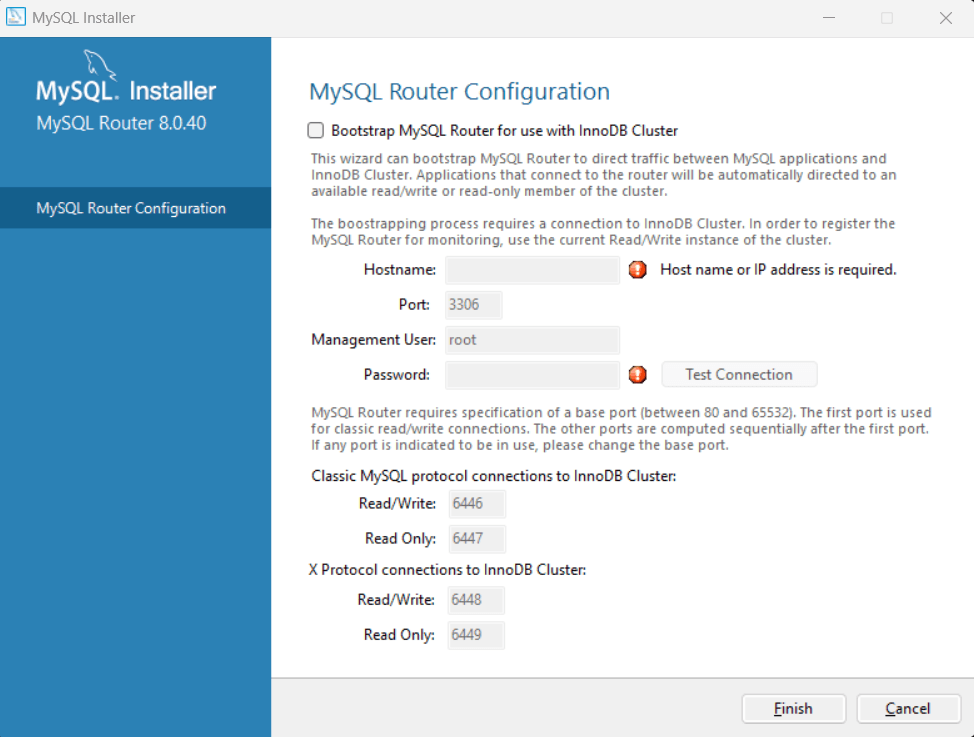
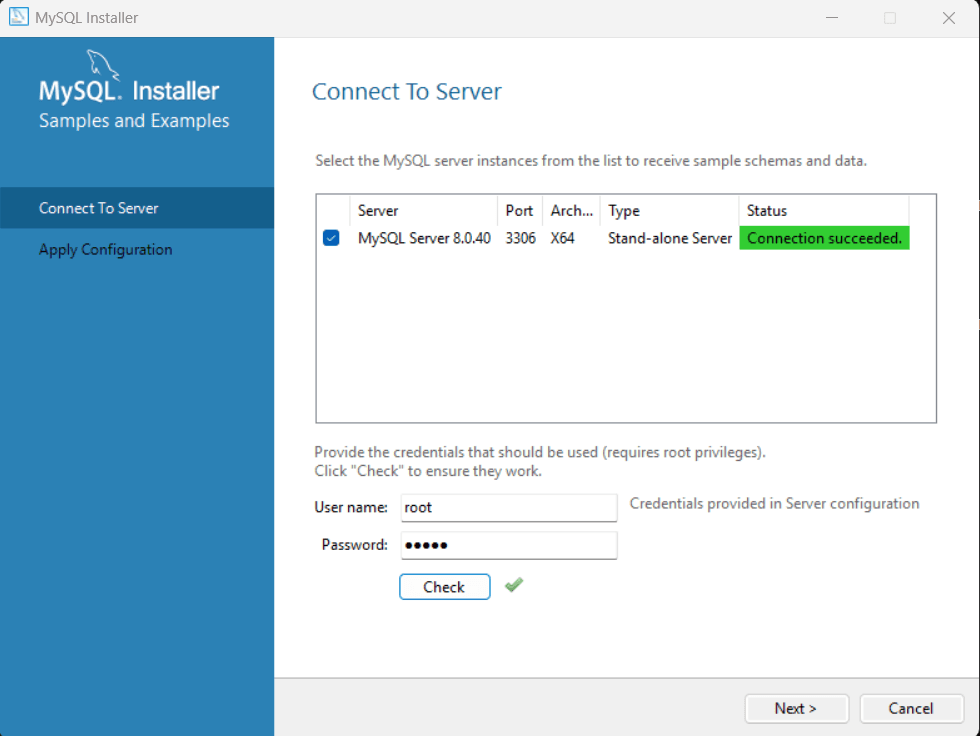
In the next wizard, we will see the Connect to Server option.
Here, we have to mention the root password, which we had set in the previous steps.
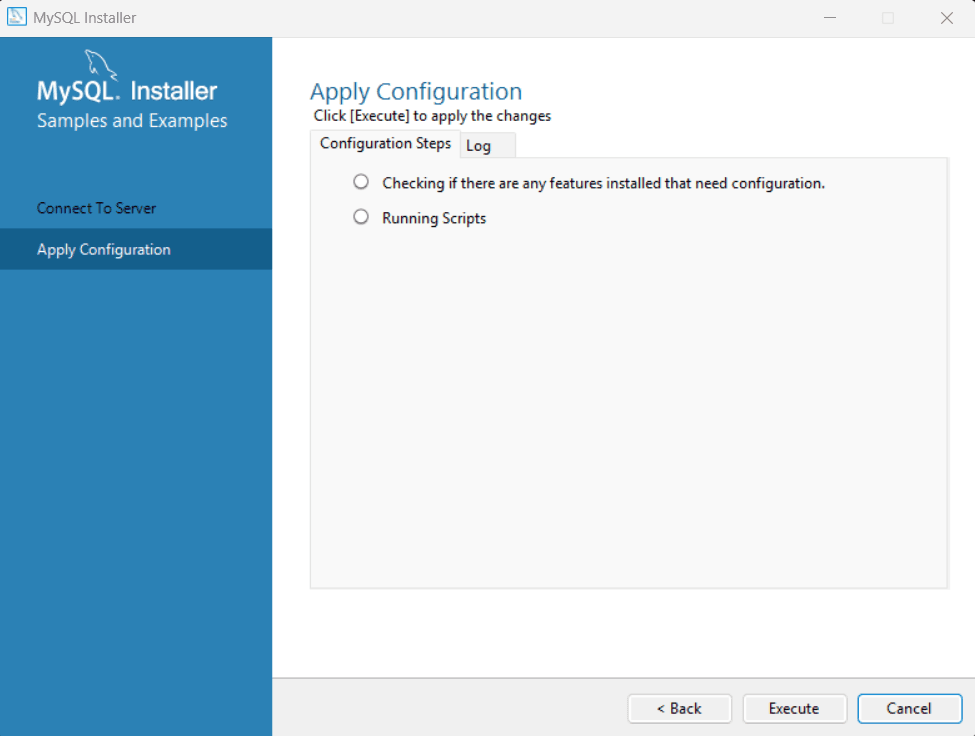
In the next wizard, select the applied configurations and click on the Execute button.
After completing the above step, we will get the following screen. Here, click on the Finish button.
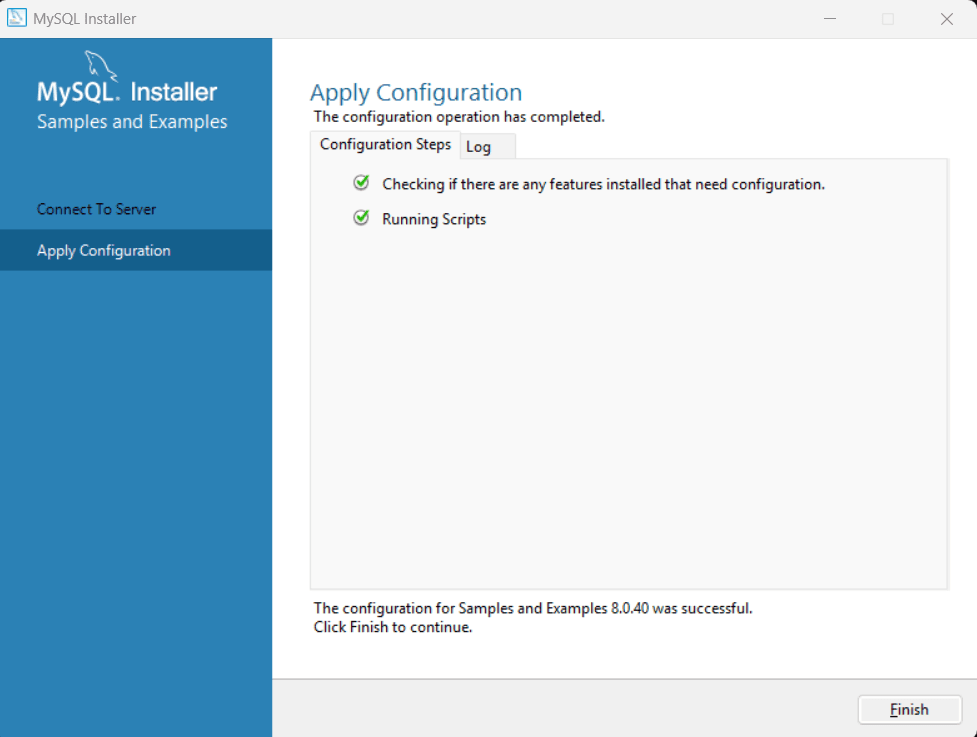
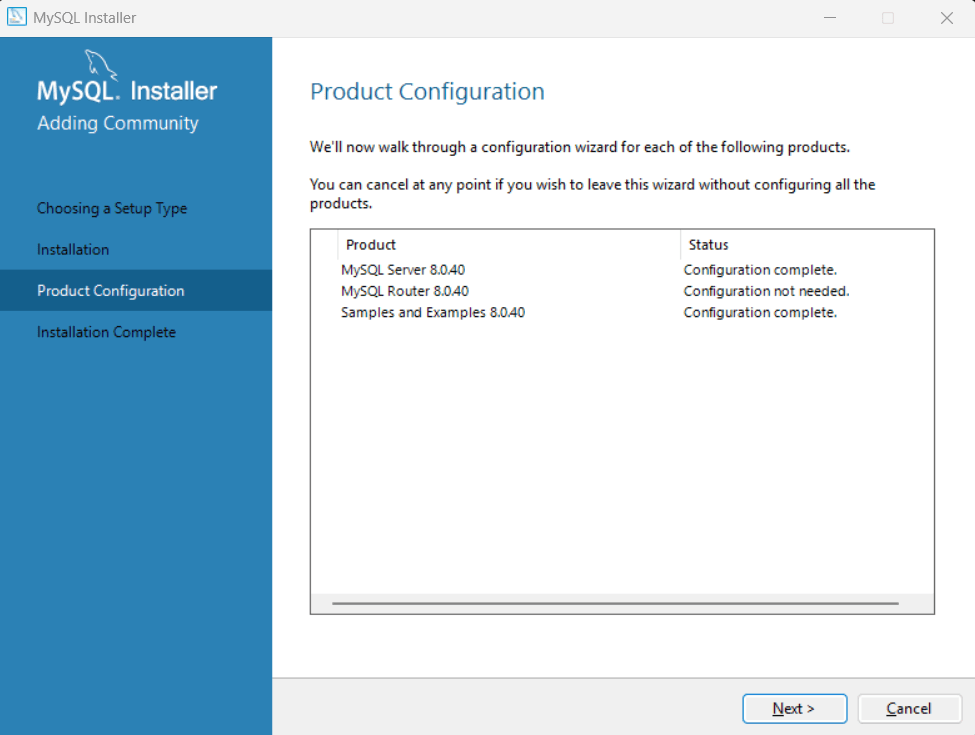
You will see product configuration screen will all configuration completed, click on next button
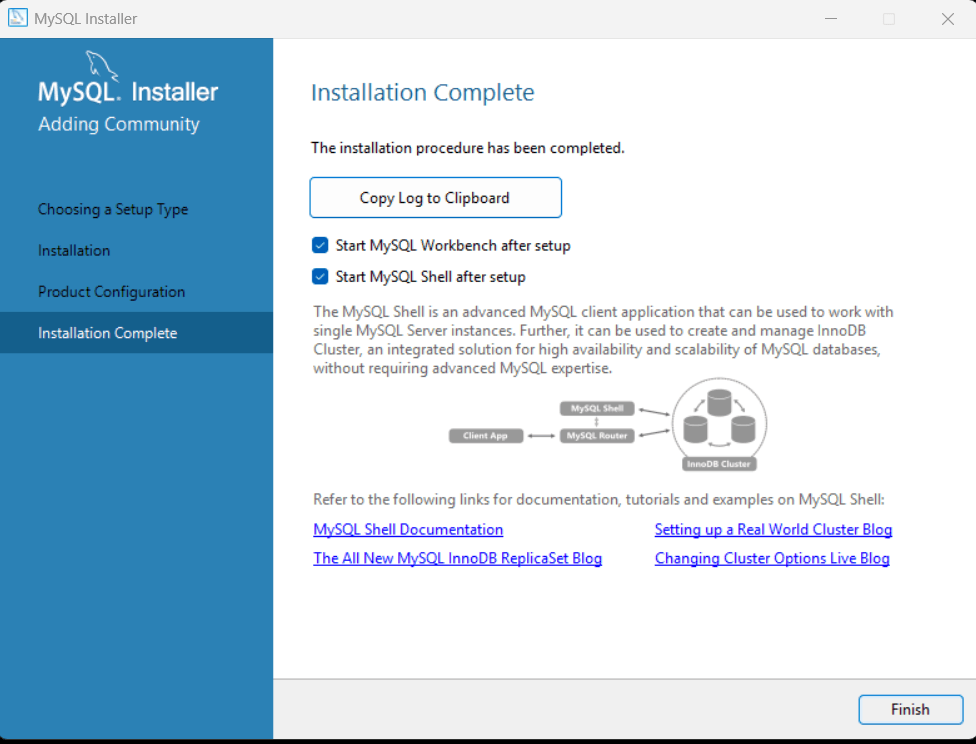
Now, the MySQL installation is complete. Click on the Finish button.
Verify MySQL installation#
Once MySQL has been successfully installed, you can verify its working via some simple tests.
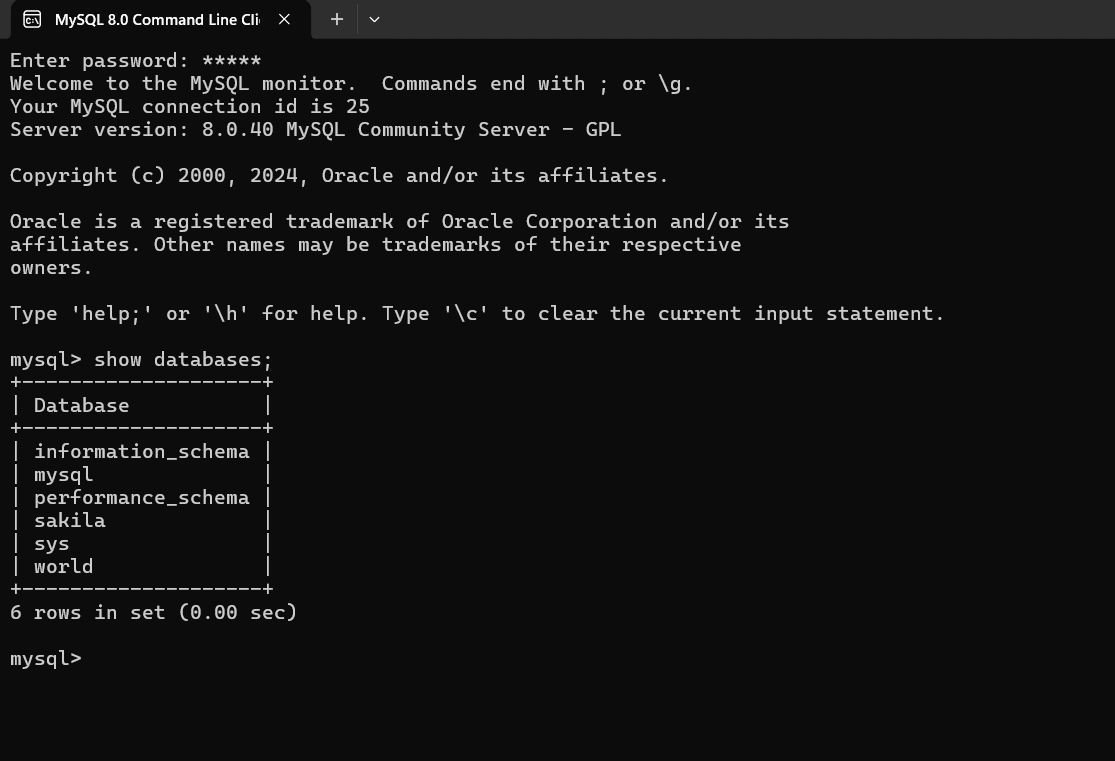
Open your MySQL Command Line Client; it should have appeared with a mysql> prompt. If you have set any password, write your password here. Now, you are connected to the MySQL server, and you can execute all the SQL command at mysql> prompt as follows:
For example: Check the already created databases with show databases command:
After starting MySQL, create a new database:
2. Spring Boot Project Setup#
Next, create a Spring Boot project and add the necessary dependencies for MySQL and Spring Data JPA.
Maven Dependencies#
In your pom.xml, add the following dependencies:
3. Configure Spring Boot to Connect with MySQL#
In the application.properties file (or application.yml if you're using YAML), configure the connection to the MySQL database.
application.properties#
This configuration will :
- Set the MySQL database URL.
- Defines the root user credentials for database access.
- Configures Hibernate to automatically update the database schema based on your entities.
- Enables SQL logging for better understanding of the queries executed.
4. Creating an Example Entity#
Now that we have the database and configuration in place, let's create an entity that maps to a MySQL table.
Student.java#
5. Creating a Repository Interface#
Spring Data JPA simplifies database operations. We can define a repository interface that extends JpaRepository to interact with the Student entity.
StudentRepository.java#
6. Writing a Controller#
To interact with our Student entity, let's create a basic REST controller that allows us to add and retrieve students from the database.
StudentController.java#
7. Running the Application#
Start the Spring Boot application and test the endpoints using a tool like Postman or cURL.
POST request to /students to add a new student:
GET request to /students to retrieve all students.
If the configuration is correct, you should see the data stored in your MySQL database.
In this article, we explored how to set up MySQL as the database for your Spring Boot application using Spring Data JPA. We covered the installation of MySQL, verified its functionality, configured a Spring Boot project with the necessary dependencies, and created a sample entity to connect with the database. With this setup, you can now easily interact with your MySQL database through your Spring Boot application, paving the way for building robust data-driven applications.