Installing Kafka and Kafka Visiualisation Tool
Introduction#
In today's data-driven world, real-time data streaming is crucial for building responsive and insightful applications. Apache Kafka has emerged as the leading platform for handling these high-volume data streams. This blog post will guide you through the process of installing Kafka and setting up a visualization tool to effectively monitor and understand your Kafka deployments.
Installing Kafka#
To install Kafka on your local machine you can visit website link given below, this will guide us to install Kafka
Link :- https://kafka.apache.org/quickstart
After visiting this website you will see there are total 8 steps which will guide you to setup kafka and use it. All the steps are given for MAC system, so in this blog we will cover all these steps for our windows system.
Step-1 Get Kafka#
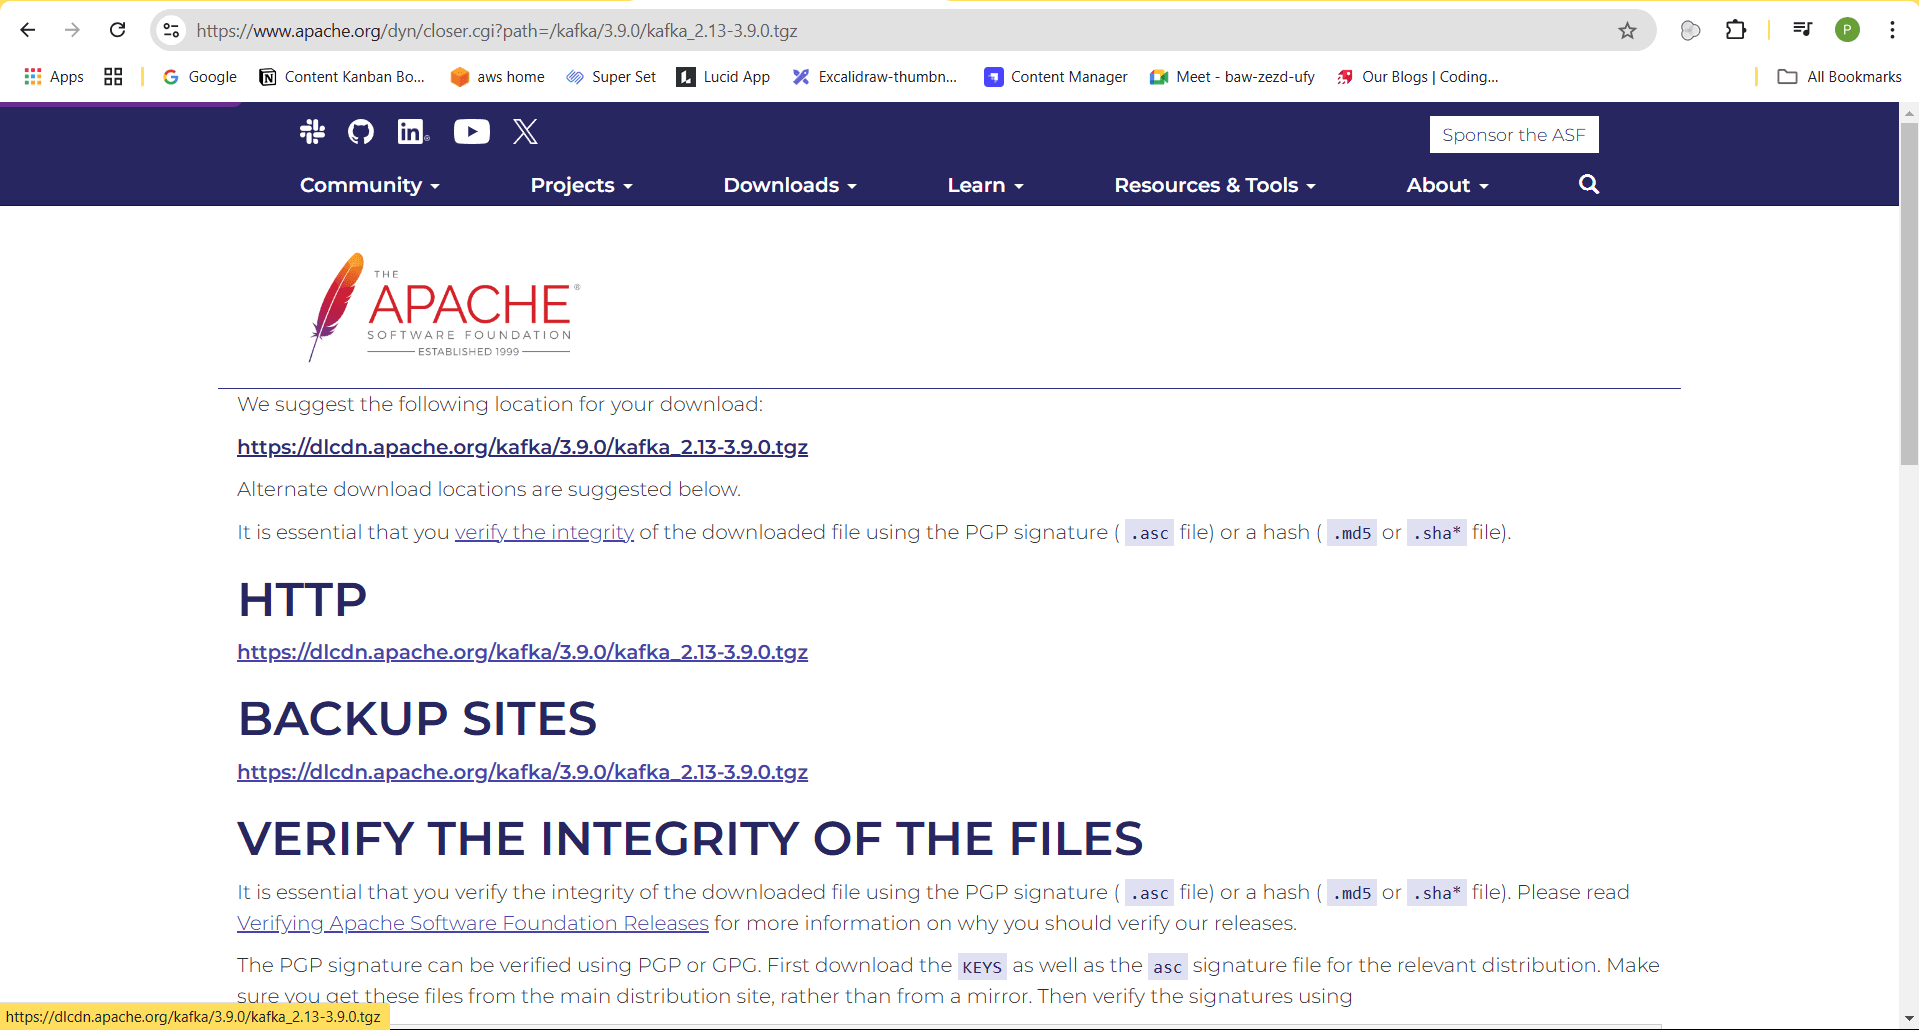
Visit :- https://www.apache.org/dyn/closer.cgi?path=/kafka/3.9.0/kafka_2.13-3.9.0.tgz
You will get this above link to download .tgz file for kafka In the first step after visiting this https://kafka.apache.org/quickstart
After visiting open this link in browser and click on https://dlcdn.apache.org/kafka/3.9.0/kafka_2.13-3.9.0.tgz

This will start downloading the .tgz file, after download is completed unzip it into a suitable location on your PC. I have extracted the folder directly in This PC C-drive location
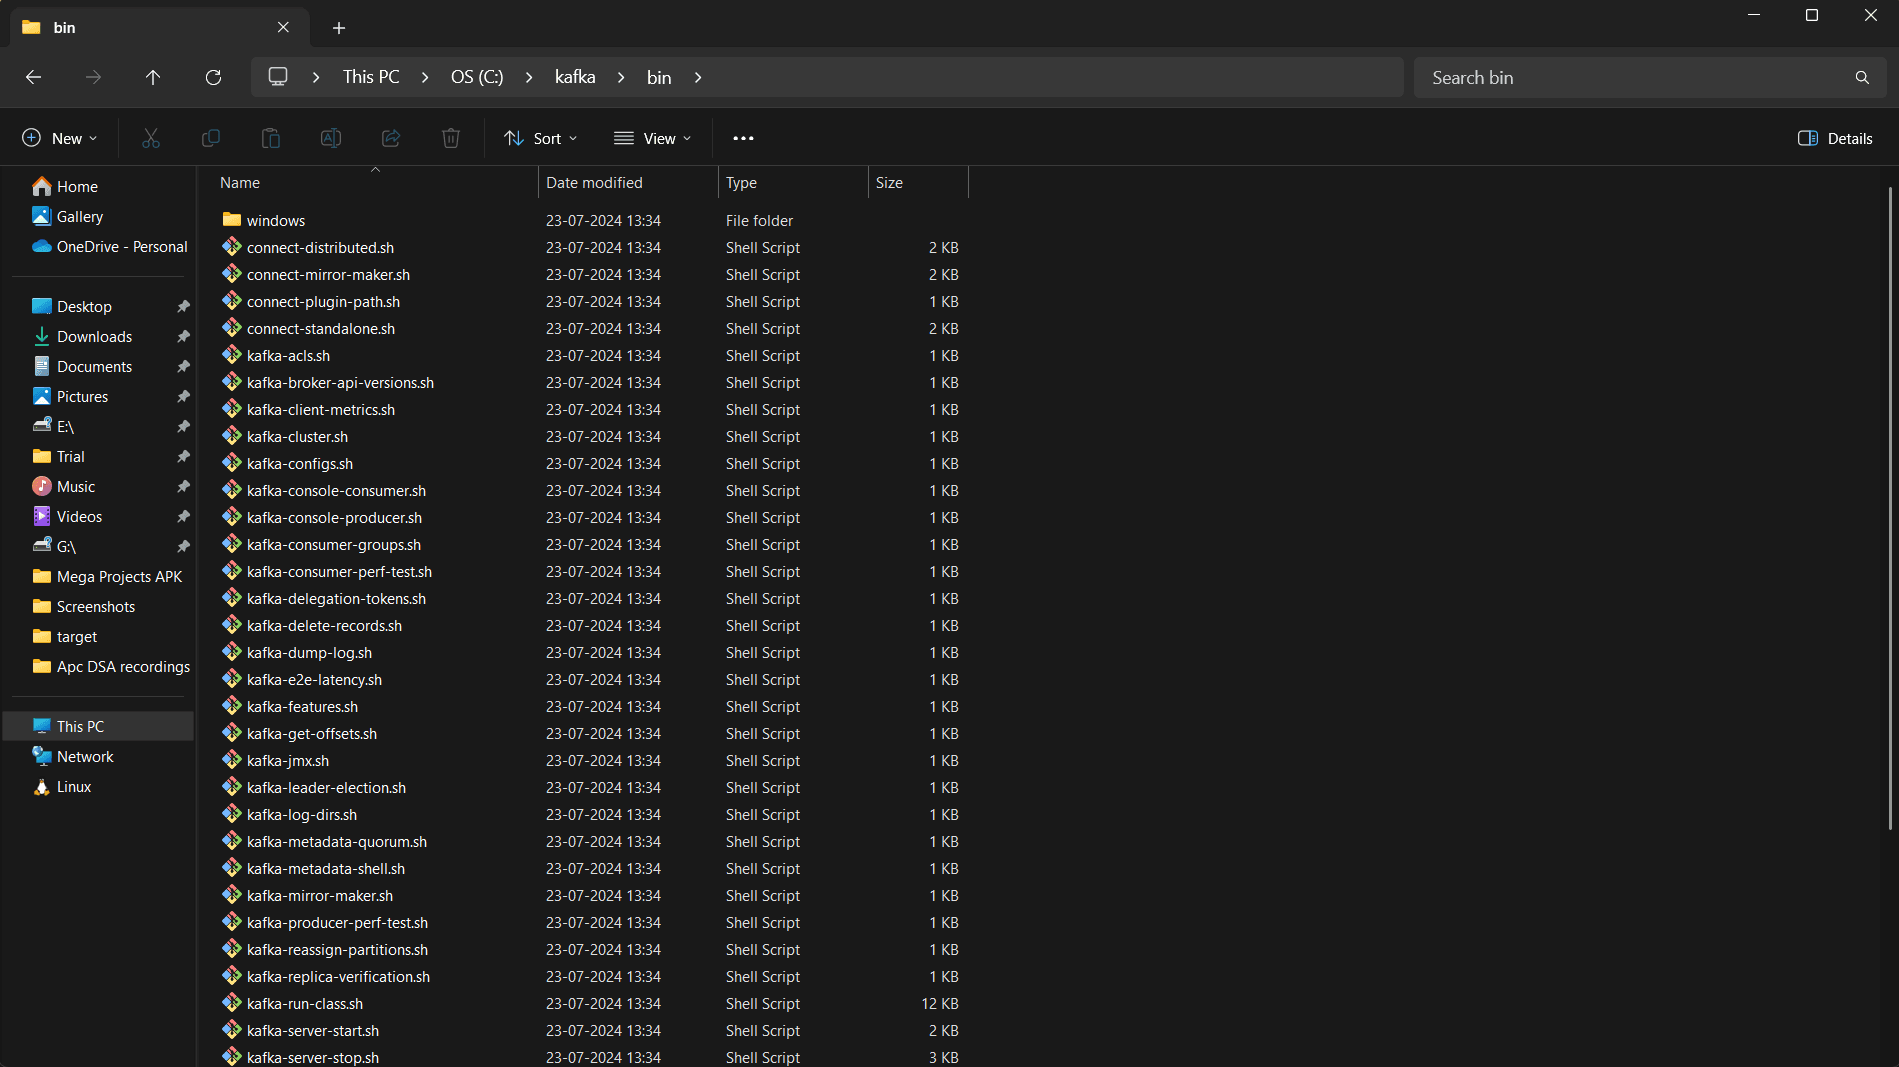
After unzipping the folder rename the folder to Kafka and go to this path → C:\kafka\bin
Here you will see windows folder go inside windows folder → C:\kafka\bin\windows. if you are using mac then you don’t need to go inside windows folder simply stay at C:\kafka\bin
You will get all bat files inside windows folder which are required to run kafka, and all sh files are present outside windows folder which are required to run kafka on MAC.

Step-2 Start Kafka Environment with KRaft#
In-order to start Kafka environment make sure your local environment have java 8+ installed
Apache Kafka server can be run using KRaft mode or ZooKeeper, we will run Kafka server using KRaft since zooKeeper support is deprecated.
Before running KRaft we will first create cluster because all different brokers will belong to one cluster id. So to crate the cluster id follow the below given instructions.
Open cmd with this path C:\kafka\bin\windows and run the following commands, This will generate a random cluster id and set it into a variable.
Format Log directories by running the following command, log directories are the location where all data of kafka is stored.
Here server.properties file have all the details related to starting the Kafka server with default configurations, you will also see that your kafka server has configured to start on port 9092, so make sure that no other service is running on this port, you can also change the port in server.properties file, we will keep everything default.
Now run this command to start the kafka server
After running the above command you will see the Kafka server started logs at the end
Once the Kafka server has started you can now create events, this events will be produced by producer and consumed by consumer.
Step-3 Create Topic for events#
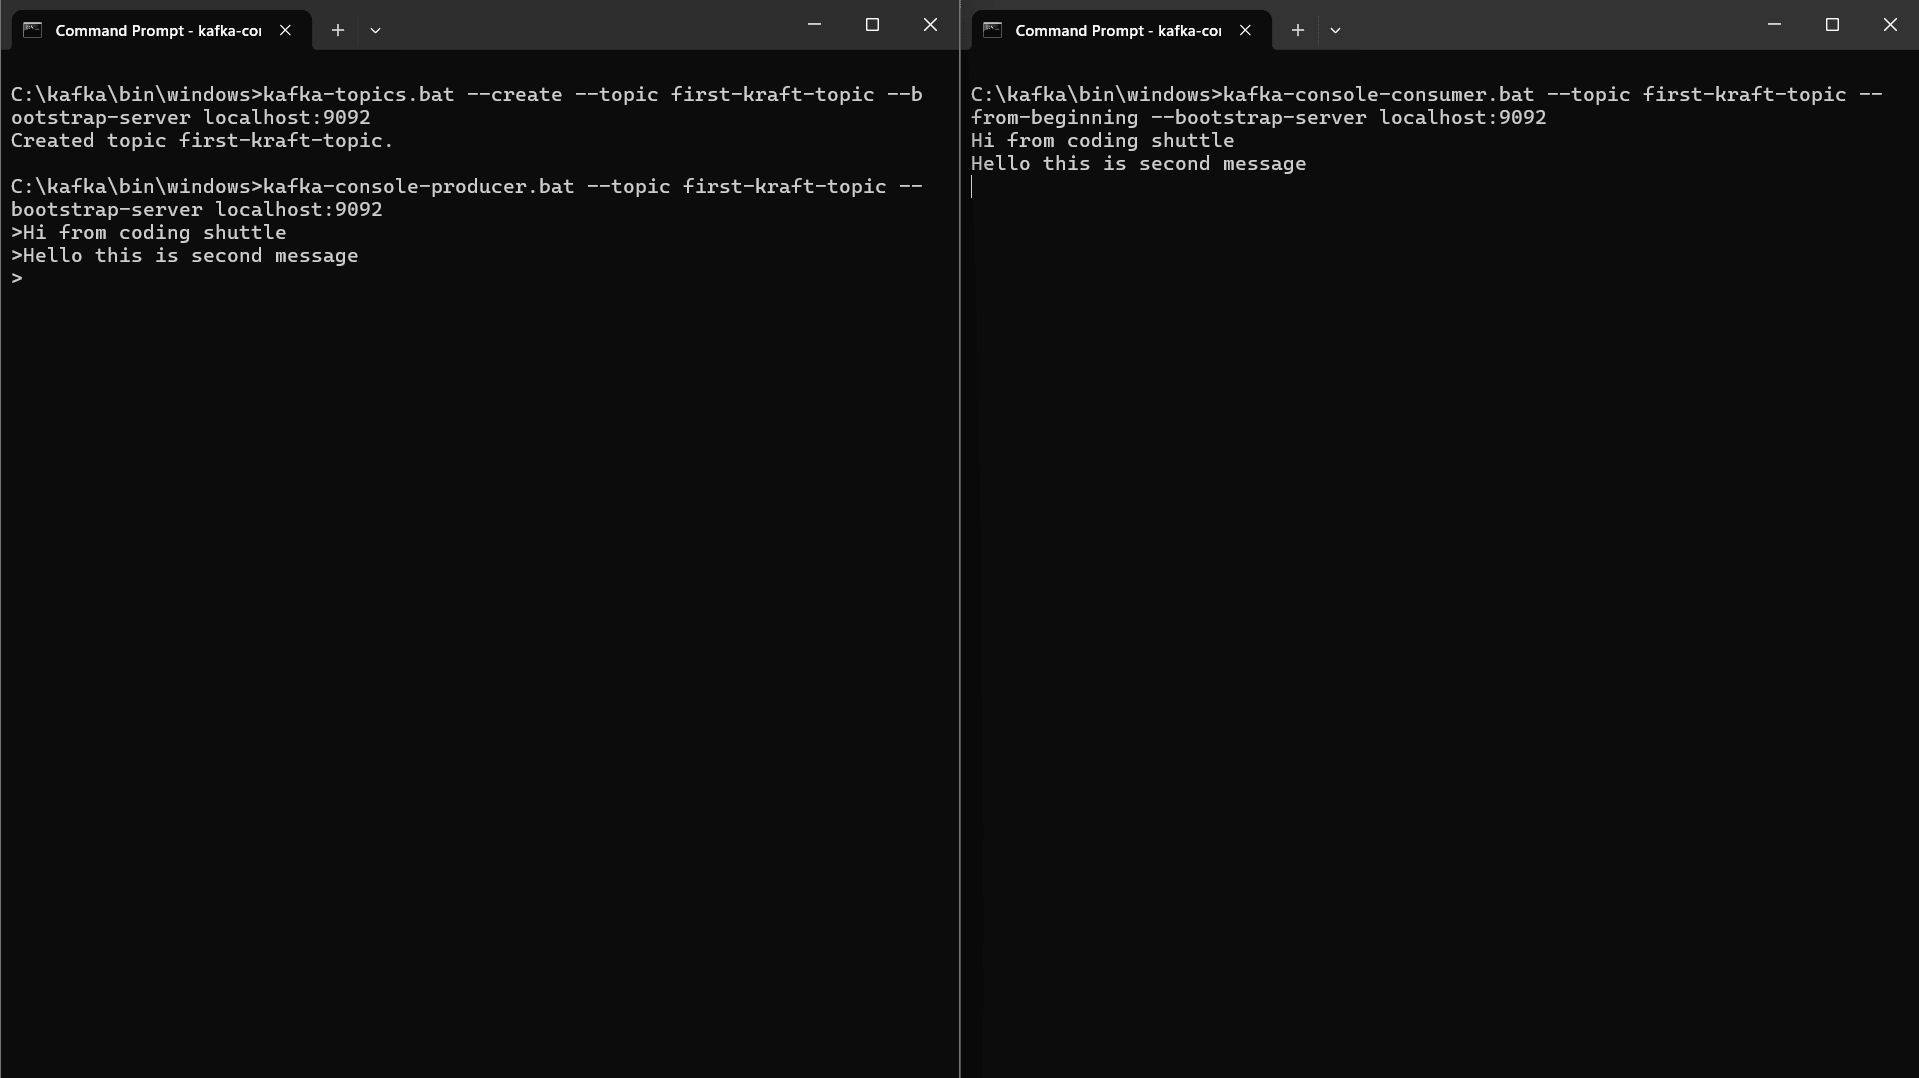
In this step we will create topics for our events, to create topic run the below given command in new cmd from the same dir → C:\kafka\bin\windows.
Our topic with name first-kraft-topic is now created.
Step-4 Write some events to topic that we have created as producer#
Now to start producing messages/events to first-kraft-topic run the following command.
After running the command you can start writing the messages. I have wrote the messages “Hi from coding shuttle”.
Step-5 Consume the messages as consumer wrote by producer to topic#
Now to consume the message “Hi from coding shuttle” produced by producer in topic “first-kraft-topic” we have to run consumer.bat file in new cmd from dir → C:\kafka\bin\windows.
Run the following command to run consumer, this will start consuming messages on topic “first-kraft-topic”.
After running immediately it will consume the message and print.
Now just write second message from producer as “Hello this is second message”, consumer will consume this message immediately.

Step-6 Installing Kafbat for visualization#
We will install Kafbat UI and run it, Kafbat UI is a versatile, fast, and lightweight web UI for managing Apache Kafka clusters.
To install Kafbat visit :- https://ui.docs.kafbat.io/development/building/without-docker and download the kafbat-ui-v1.0.0.jar currently this is the latest version.
After downloading move the jar file from downloads folder to Kafka folder.
Note:- To run this jar file make java 17+ version is installed on local machine
Before running the kafbat jar file create application-local.yml file in the Kafka folder, with following configuration. In this configuration we have given port on which Kafbat UI will run i.e 8082 and also mentioned the port on which kafka server is running i.e 9092.
Now run the follwing command from Kafka dir → C:\kafka in powershell
You will get the following output:-
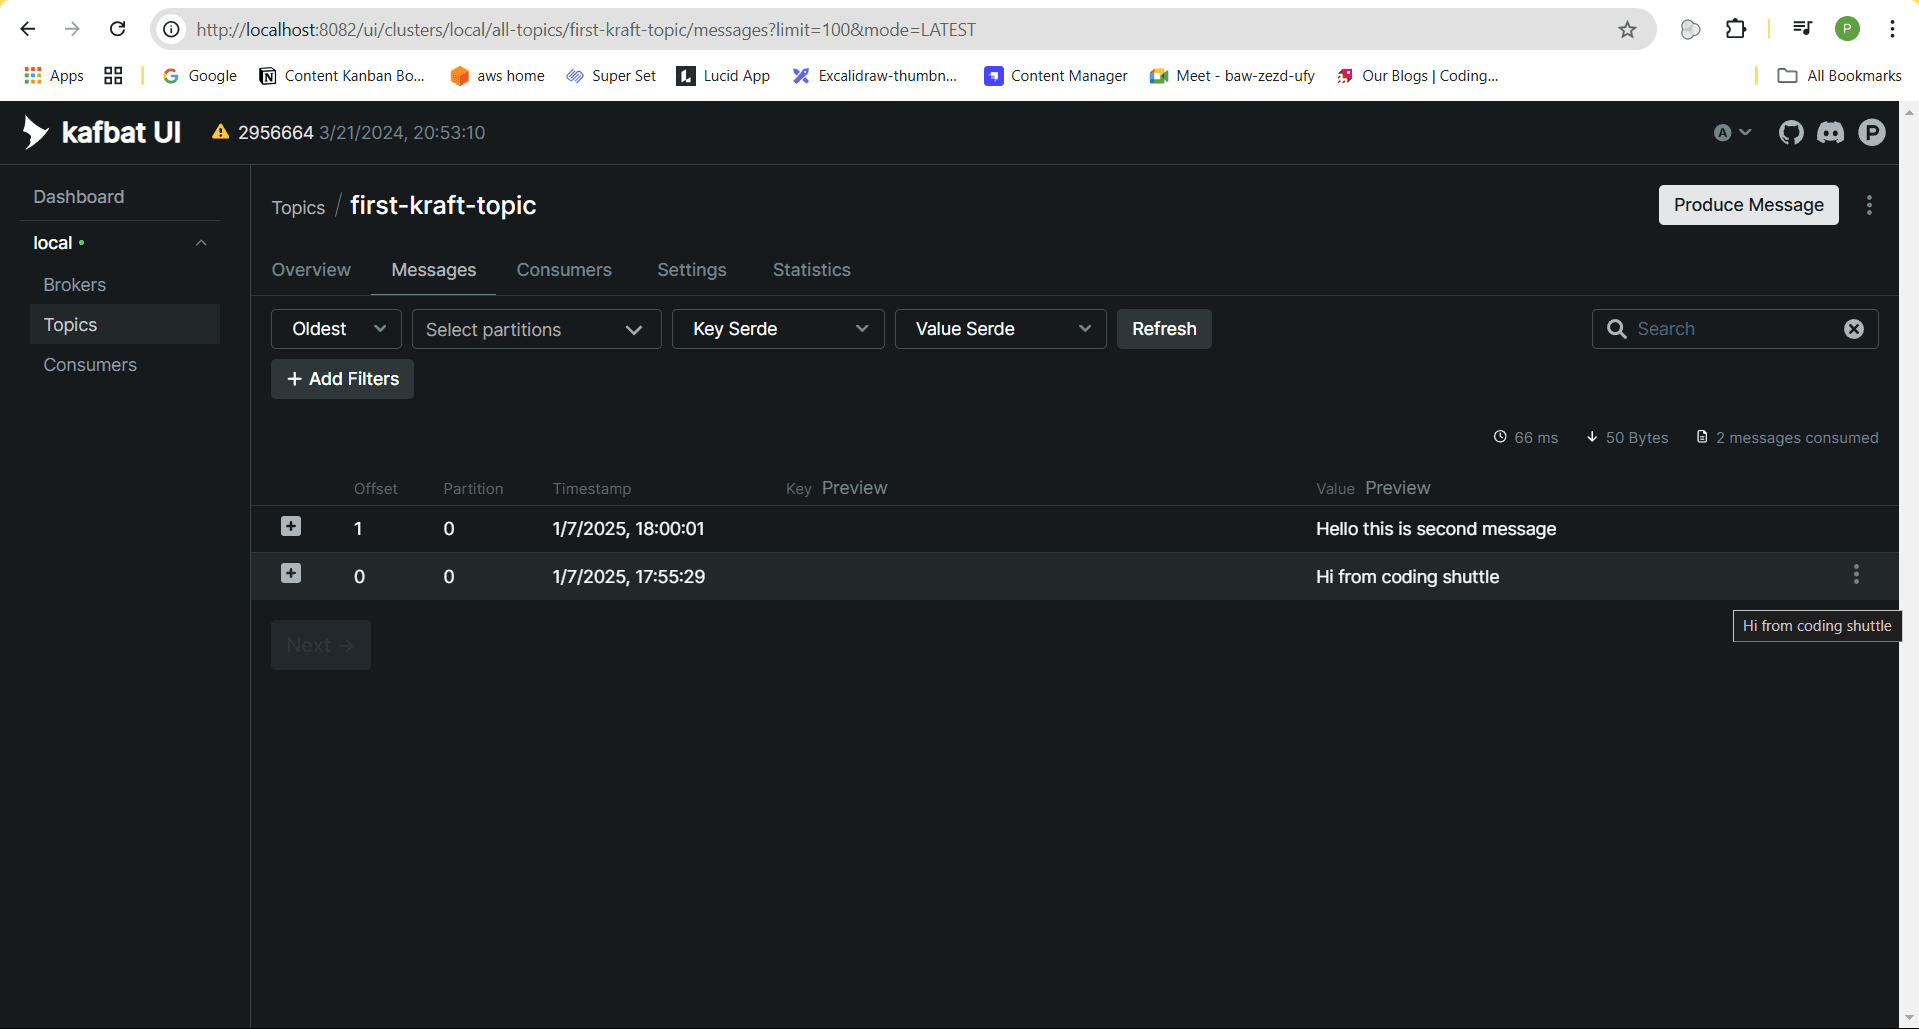
Now you can access the Kafbat UI from :- http://localhost:8082/
Go to topics and select “first-kraft-topic” and then select messages, you will see all the messages that we produced from producer console on topic. You can explore more details related to running kafka cluster on Kafbat UI.

Conclusion#
By following these steps, you've successfully installed Kafka with KRaft mode, created a topic, produced and consumed messages, and lastly, set up Kafbat UI for visualization. Kafbat provides a user-friendly interface to monitor your Kafka cluster, view topics, and analyze messages.