Creating First Spring Boot Project and understanding the project structure
Creating your first spring boot project#
Step 1: Start a new Spring Boot project#
- Use start.spring.io to create a “web” project. In the “Dependencies” dialog search for and add the “web” dependency as shown in the screenshot. Hit the “Generate” button, download the zip, and unpack it into a folder on your computer. Note :- Choose the latest version of Java and Spring boot

Step 2: Add your code#
- Extract demo.zip folder and open in Intellij or any preferred editor of your choice. Add the following code in DemoApplication.java.
Using CommandLineRunner in Spring Boot#
In Spring Boot applications, the CommandLineRunner interface is a functional interface provided by Spring Boot that can be used to execute code after the Spring Boot application has started. It allows you to run specific pieces of code at startup, making it a useful tool for initialization tasks, running startup logic, or performing actions that need to happen once the application context is fully initialized.
Overriding the run Method#
When you override the run method, you provide the implementation for the logic that you want to execute at startup.
Step 3: Run the application and you will see the message in your console as shown in below image#
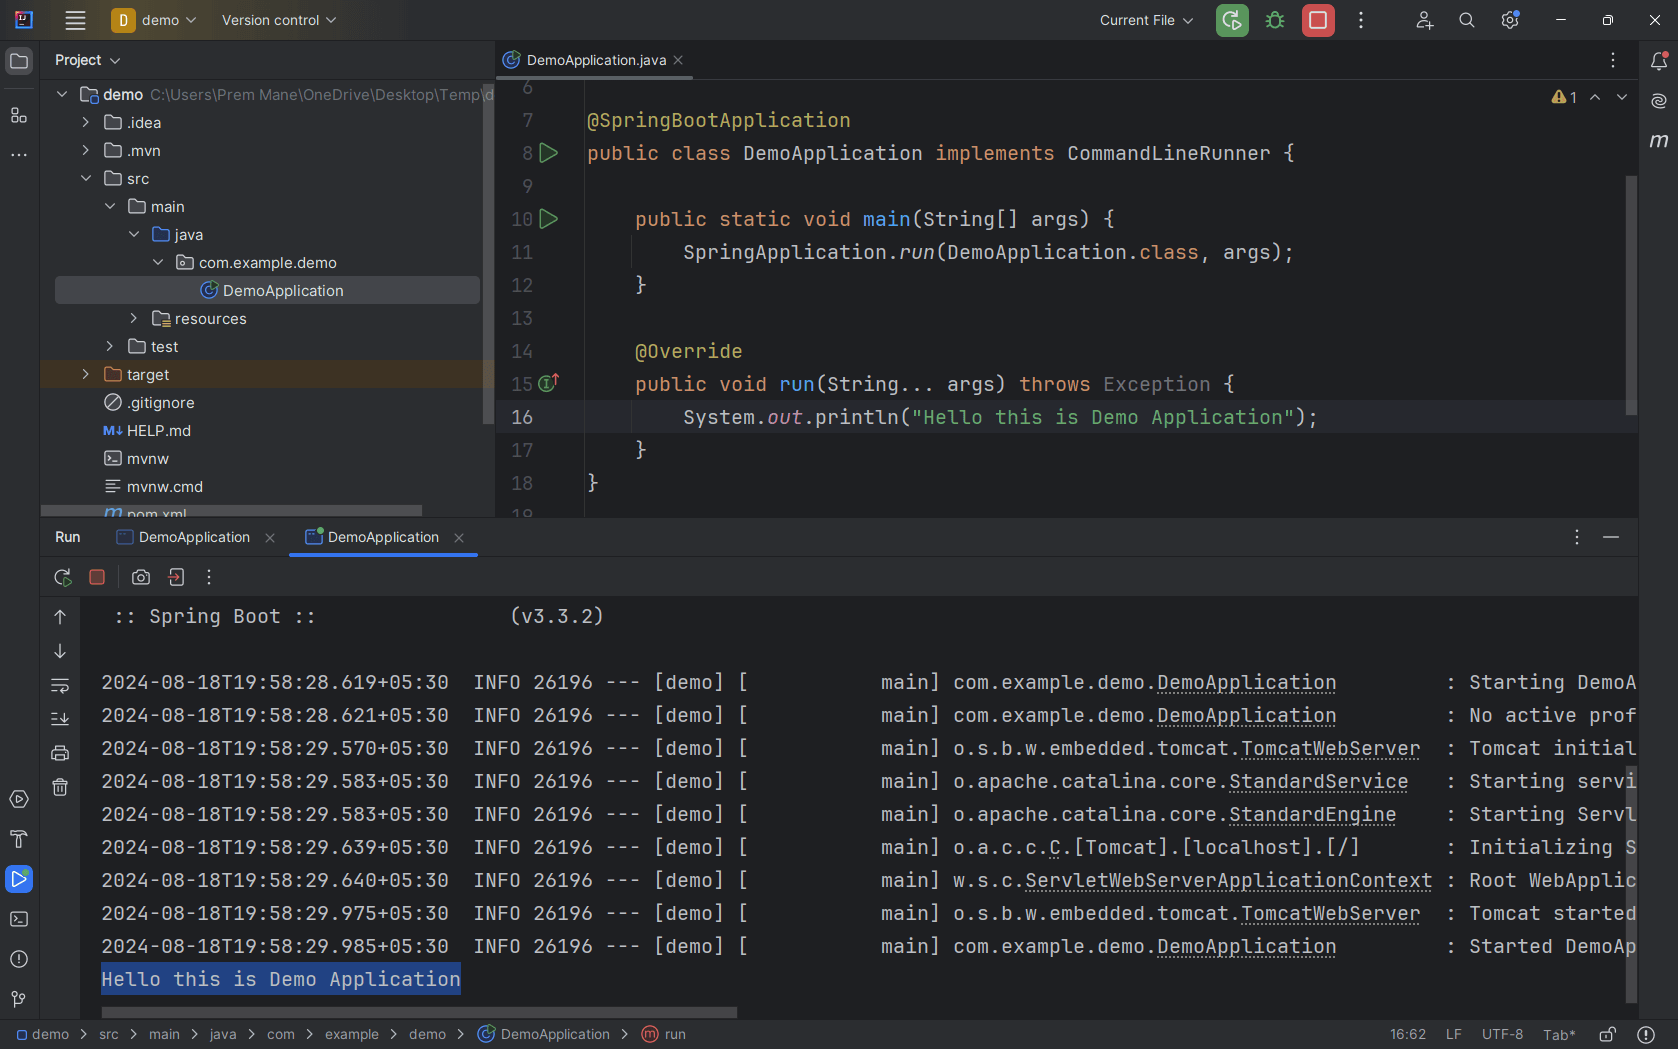
🥳 Congratulations you have successfully created your first spring boot project.
Now Let’s see the full directory structure of the typical spring boot application.#
We will take an example of simple employee management testing spring boot project to understand the directory structure.#
The below image shows well recognized folder structure for Spring boot application.#
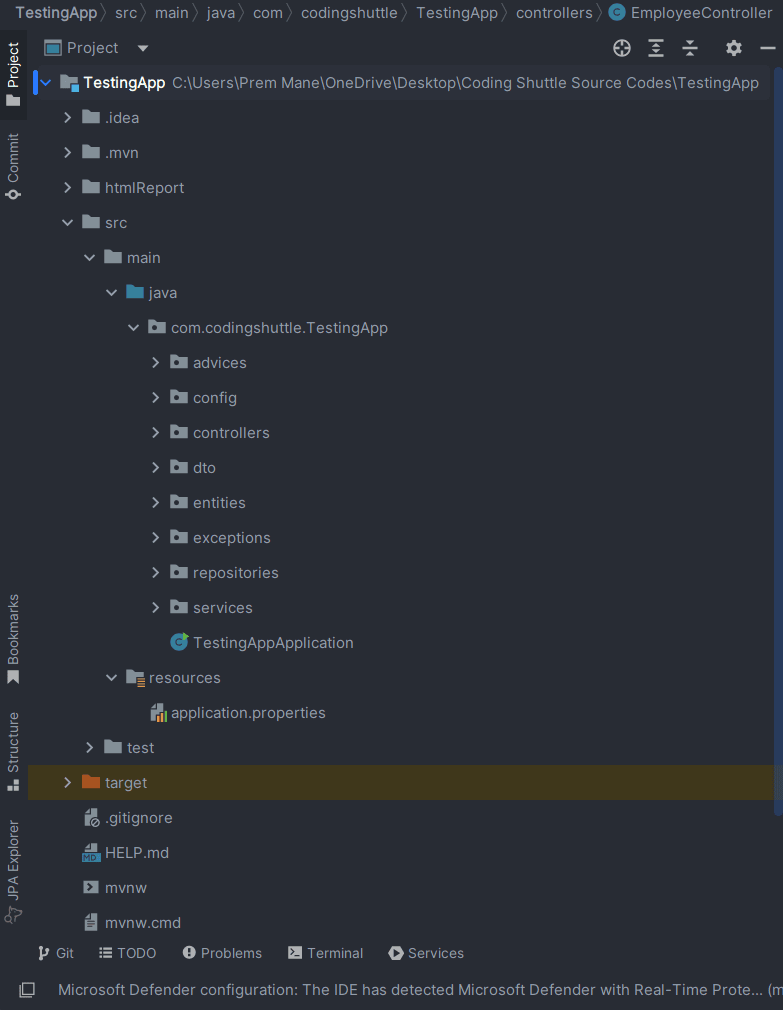
Now we will see the breakdown and significance of each folder , files in our Spring boot TestingApp.#
Project Root Folder#
.idea#
This folder is created by IntelliJ IDEA and contains project-specific settings and configurations. It is not part of the Spring Boot application itself but helps in IDE configuration.
.mvn#
This folder contains Maven Wrapper files. The Maven Wrapper allows you to run Maven commands without needing a local Maven installation. It ensures that the project uses a specific Maven version.
htmlReport#
This folder is used for storing reports generated by tools like JaCoCo or other test coverage tools. It is not a standard folder but can be added for reporting purposes.
mvnw and mvnw.cmd#
These are the Maven Wrapper scripts for Unix/Linux and Windows, respectively. They allow you to run Maven commands using the specified Maven version without having Maven installed globally.
pom.xml#
This is the Maven configuration file for the project. It defines project dependencies, plugins, and other configurations required for building and managing the project.
src Folder#
src/main/java: Contains the main Java source code of the application.
com.codingshuttle.TestingApp: This is the base package for your application. It contains all the application-specific classes.
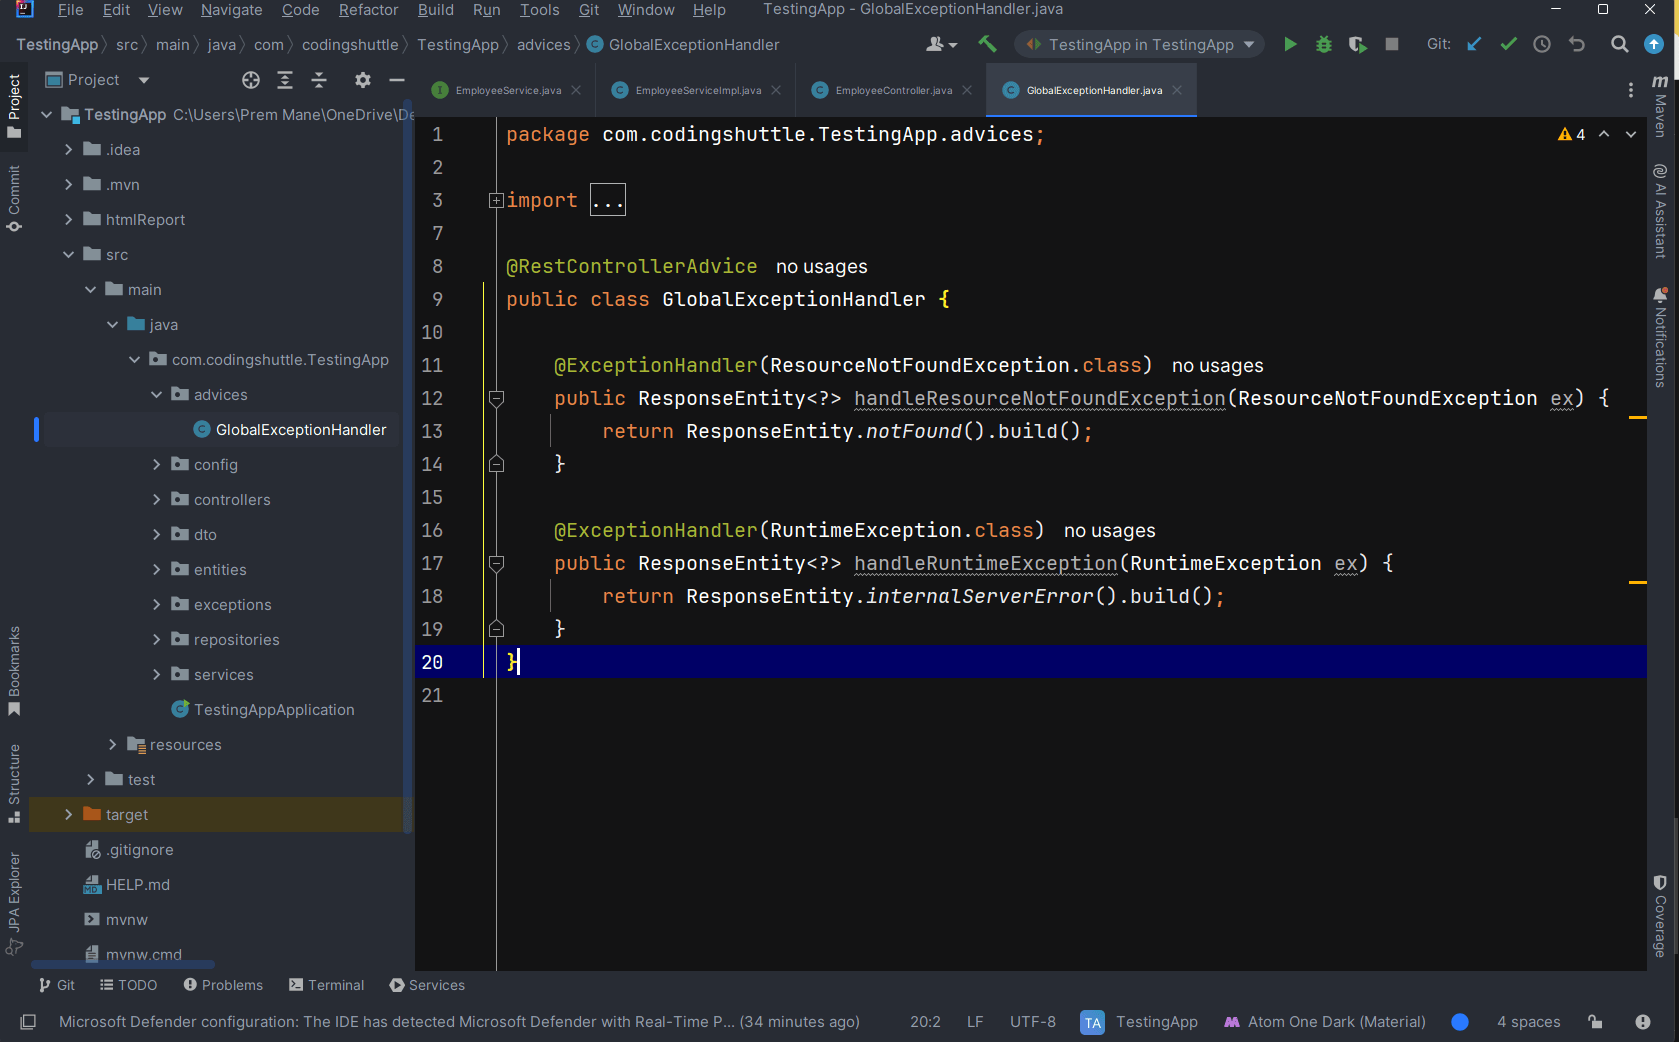
advices#
Contains advice classes for handling cross-cutting concerns, such as GlobalExceptionHandler, which manages global exceptions.
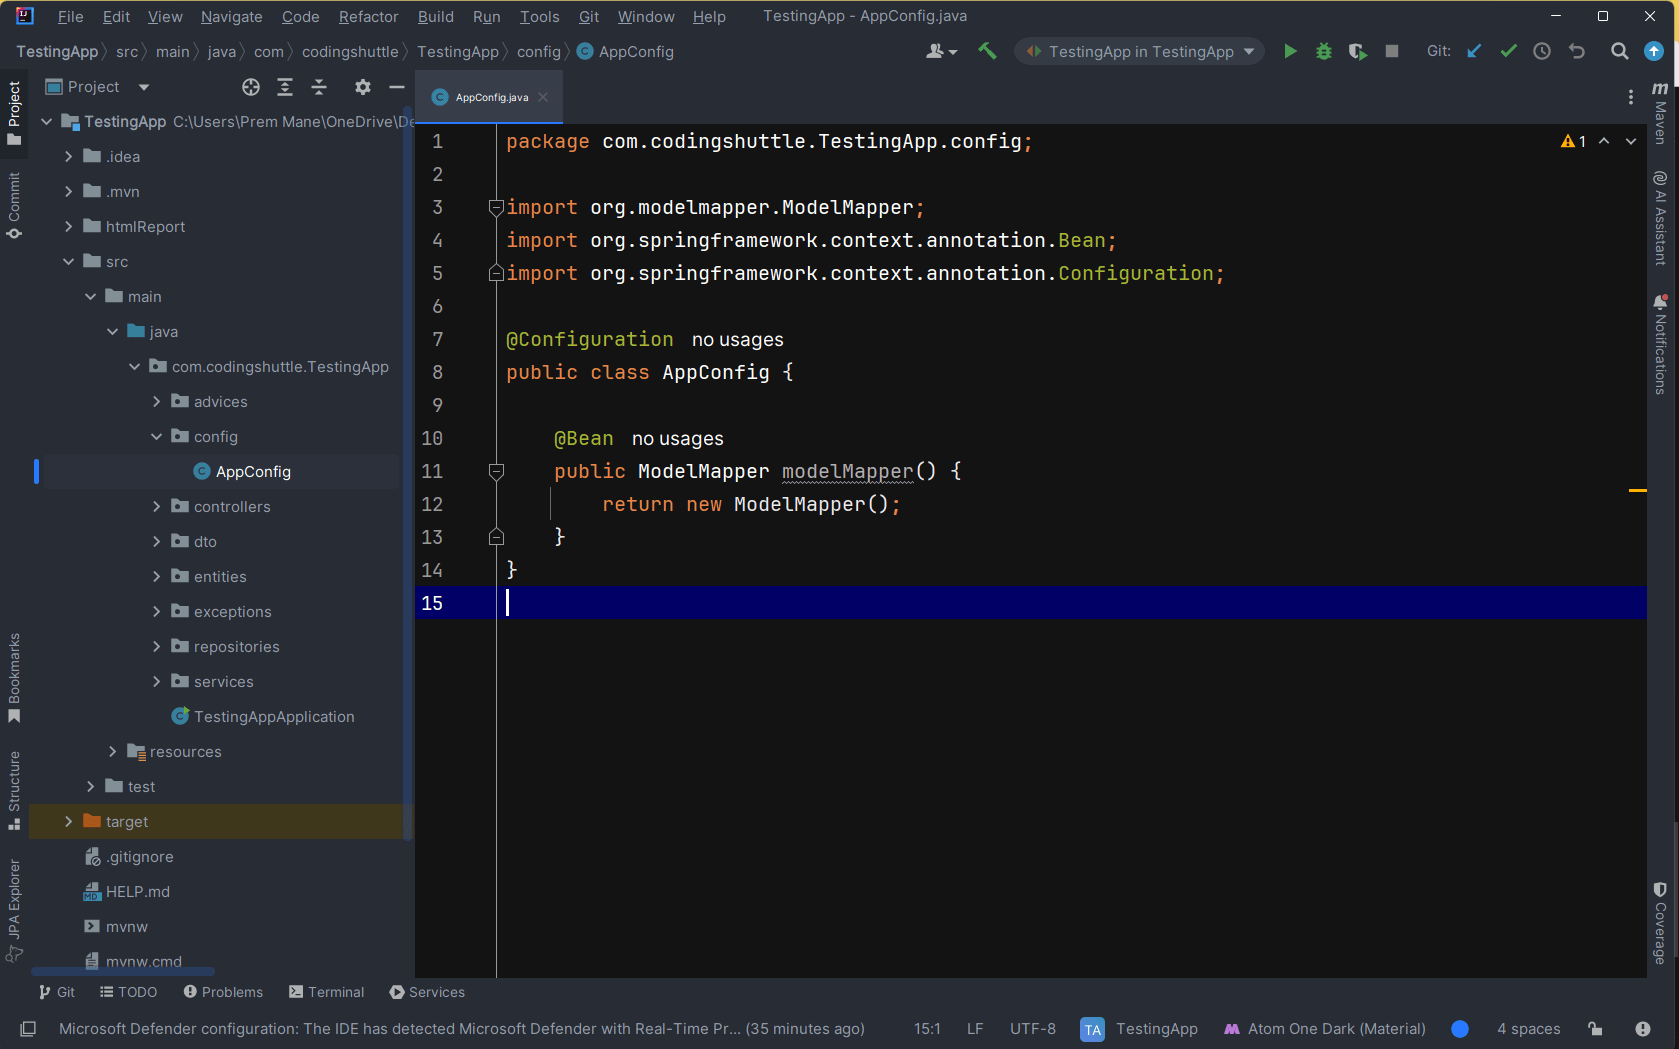
config#
Contains configuration classes for setting up various parts of the application, like security or custom settings.
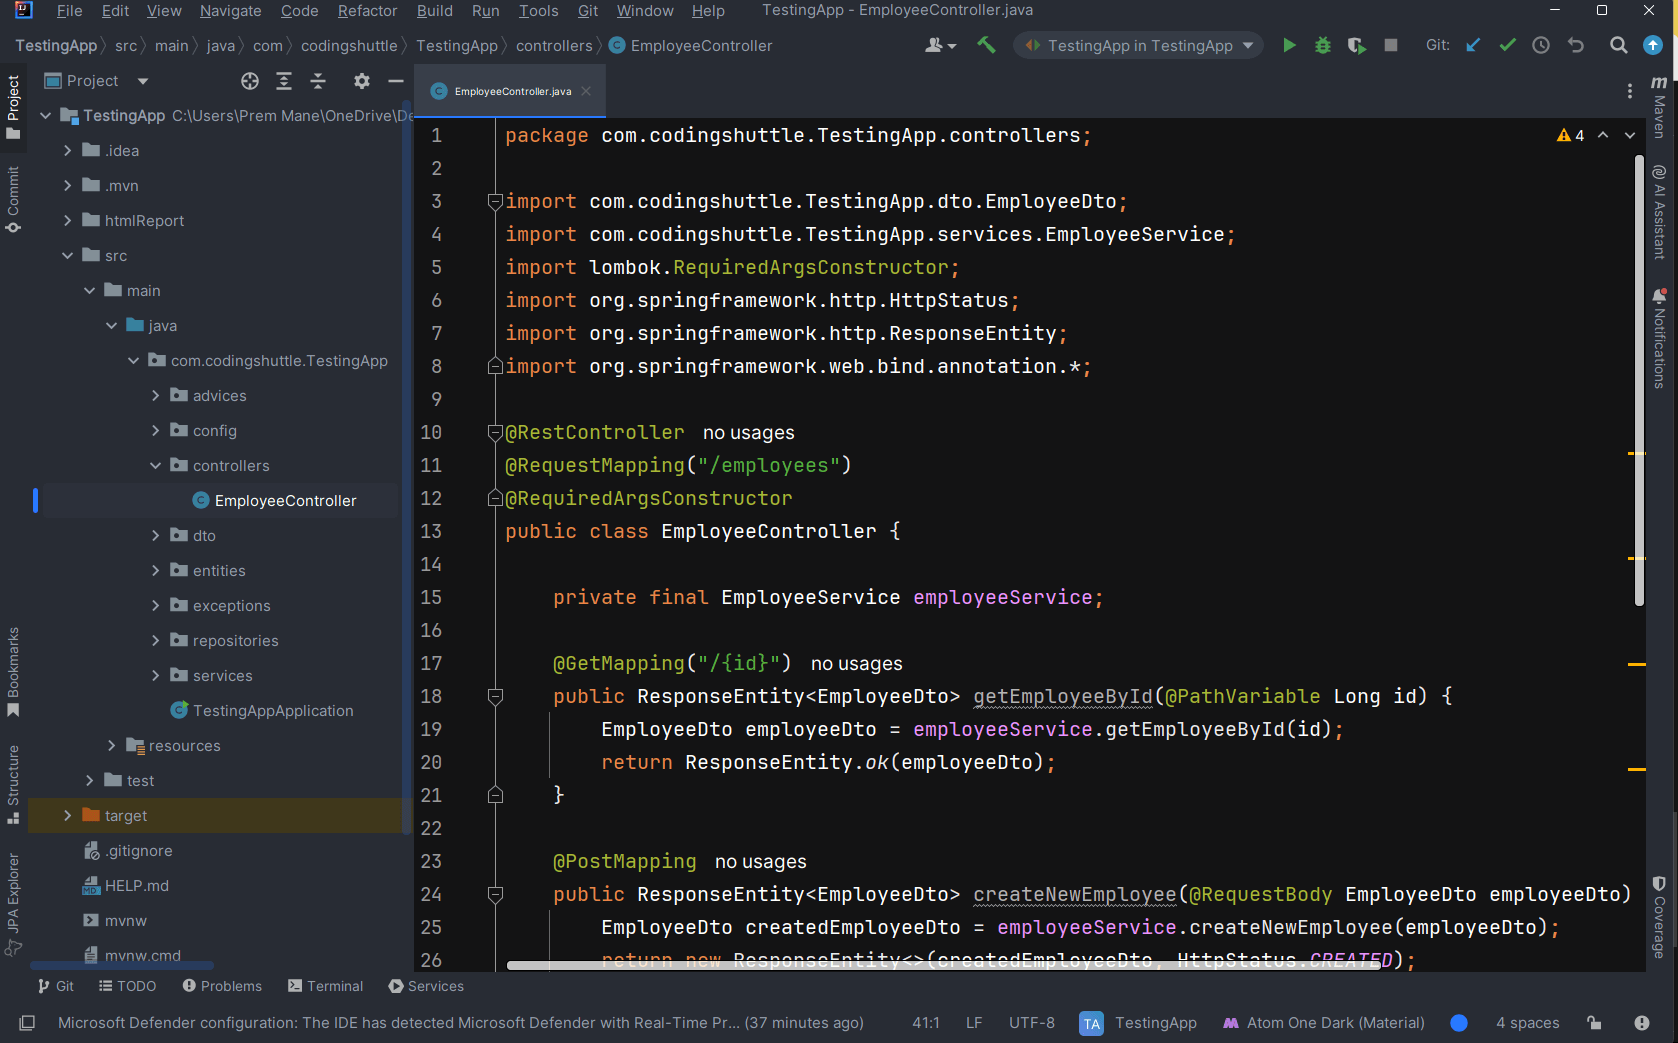
controllers#
Contains controller classes responsible for handling HTTP requests and responses.
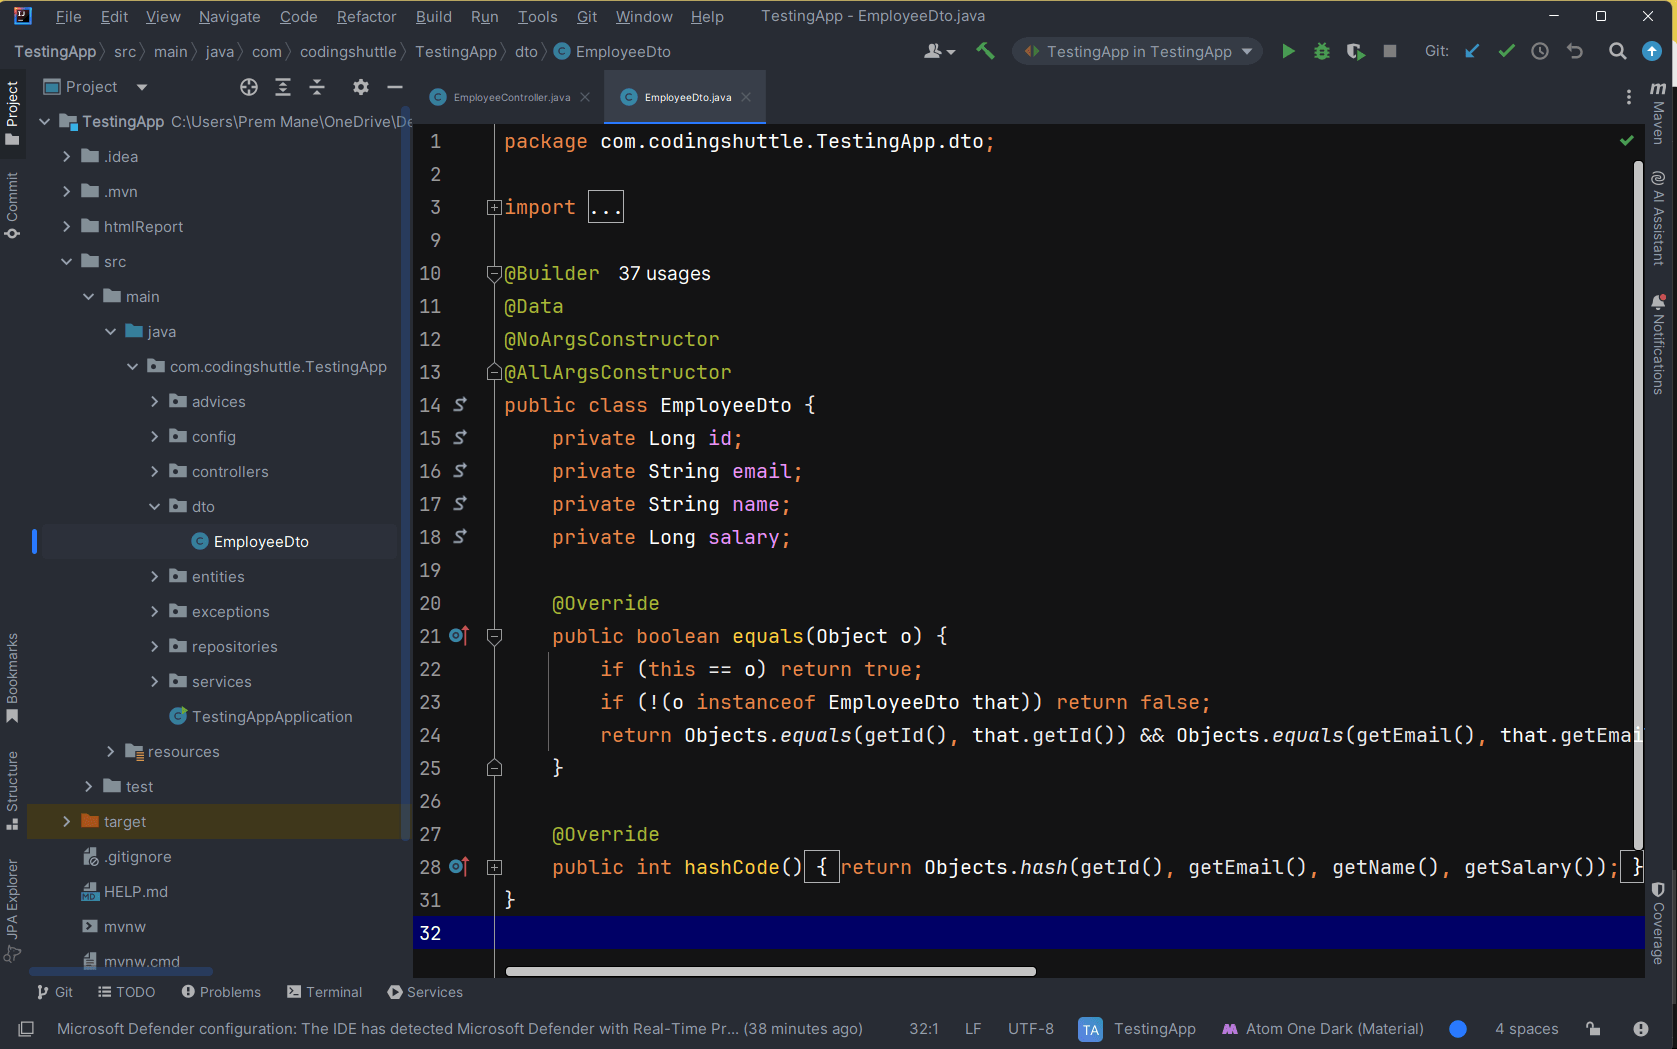
dto#
Contains Data Transfer Object classes used to transfer data between layers.
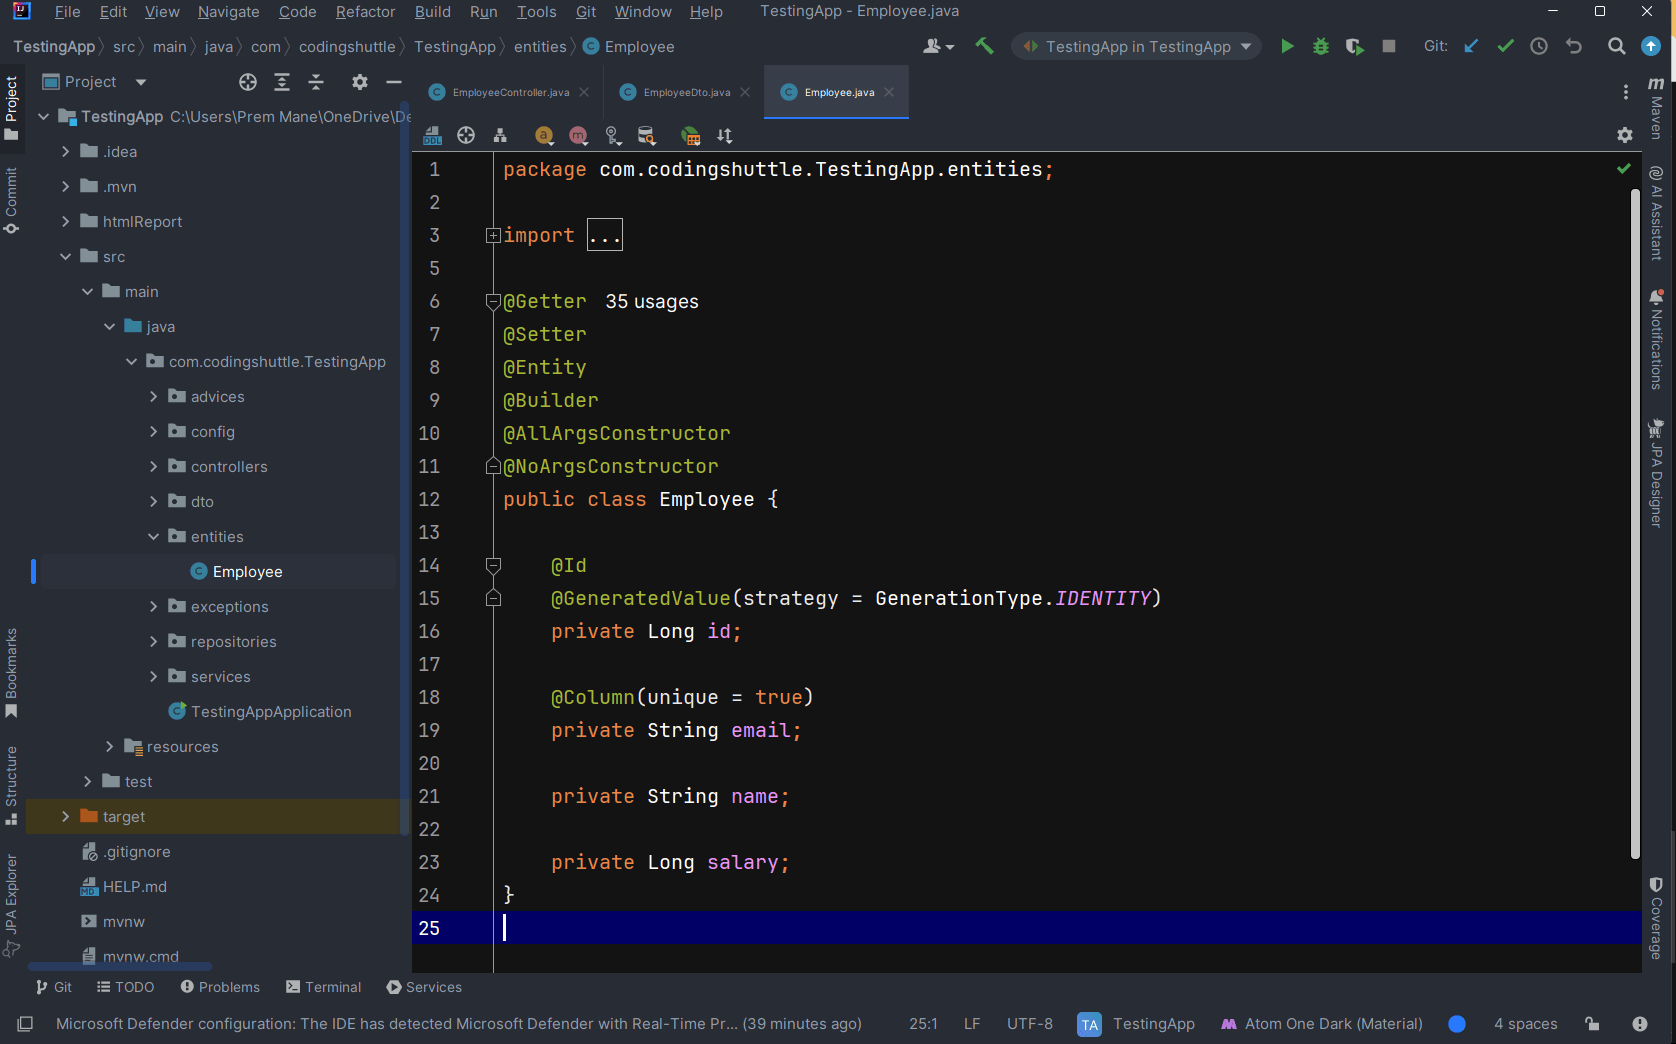
entities#
Contains entity classes that map to database tables.
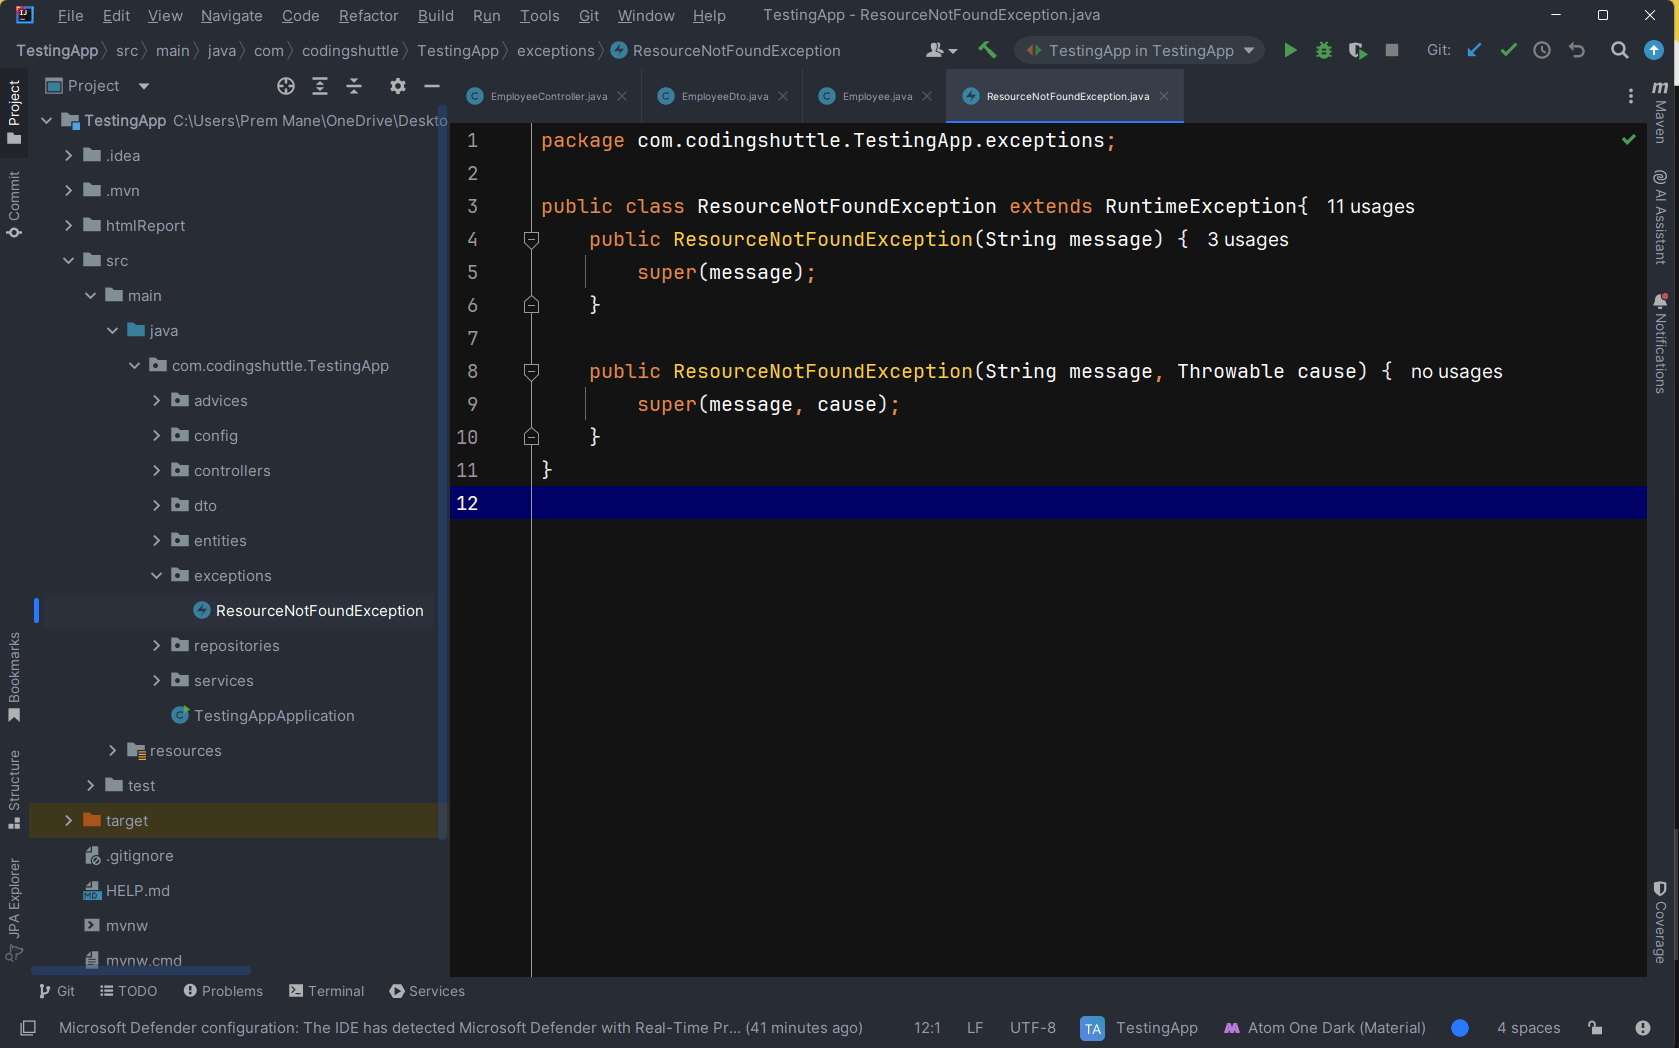
exceptions#
Contains custom exception classes.
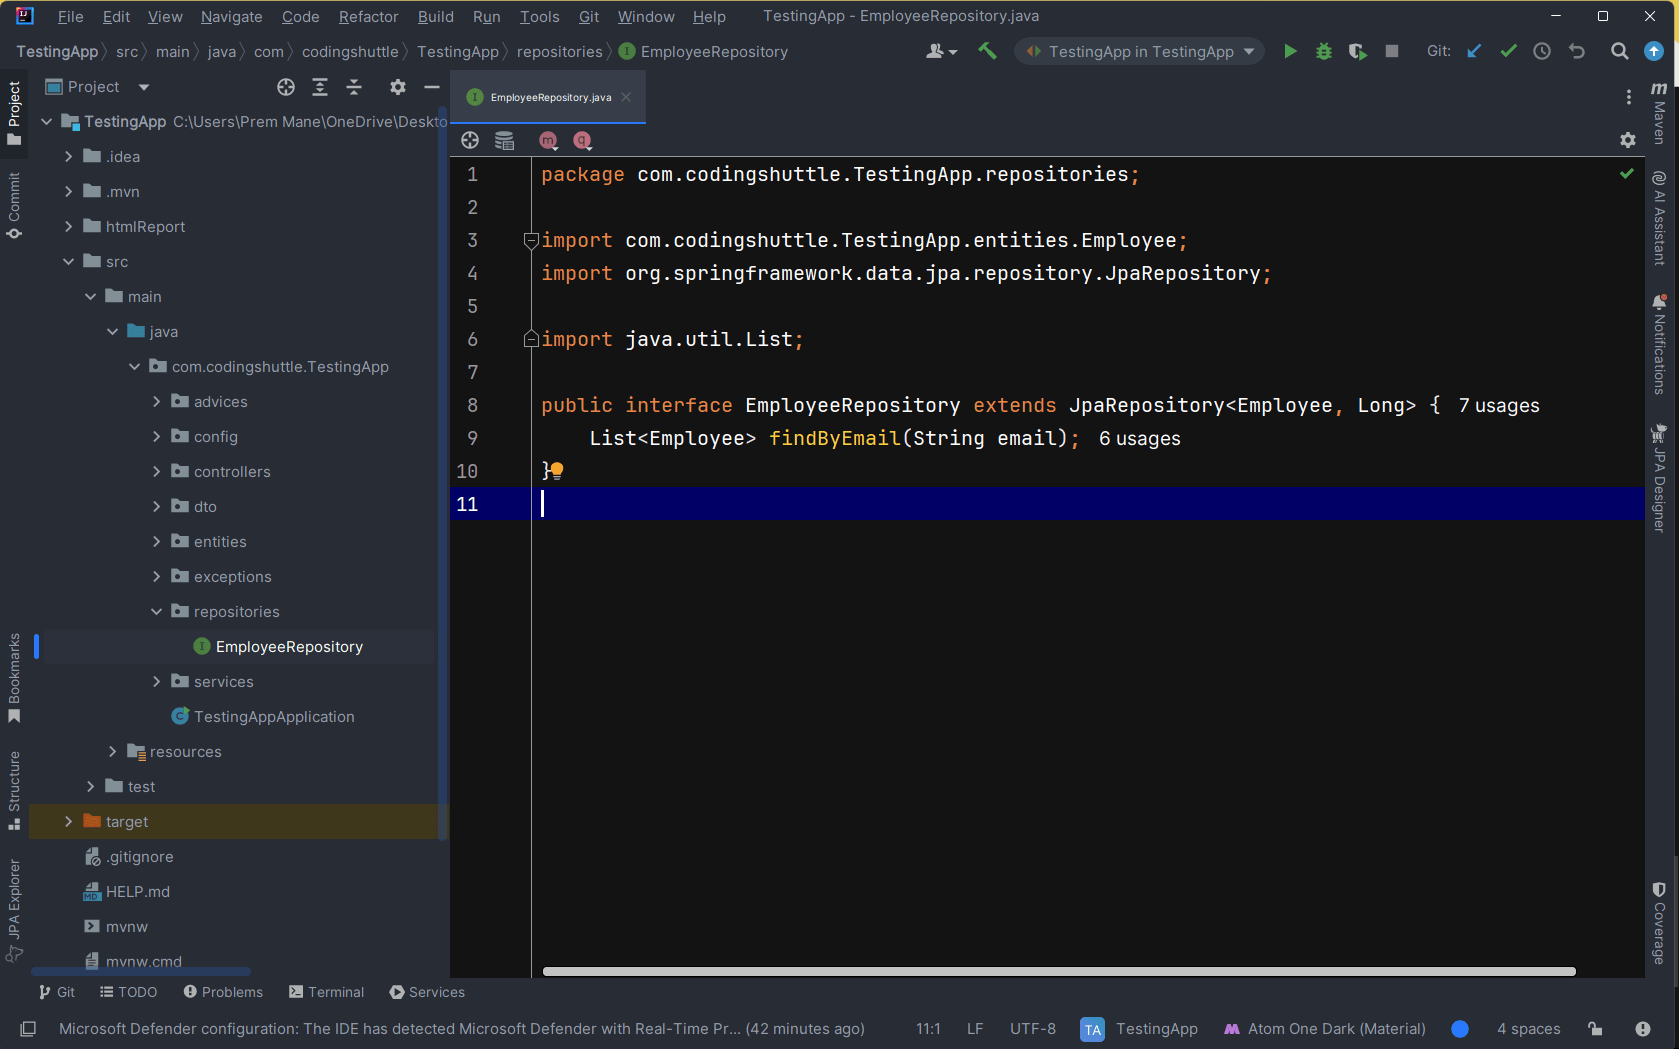
repositories#
Contains repository interfaces for database operations.
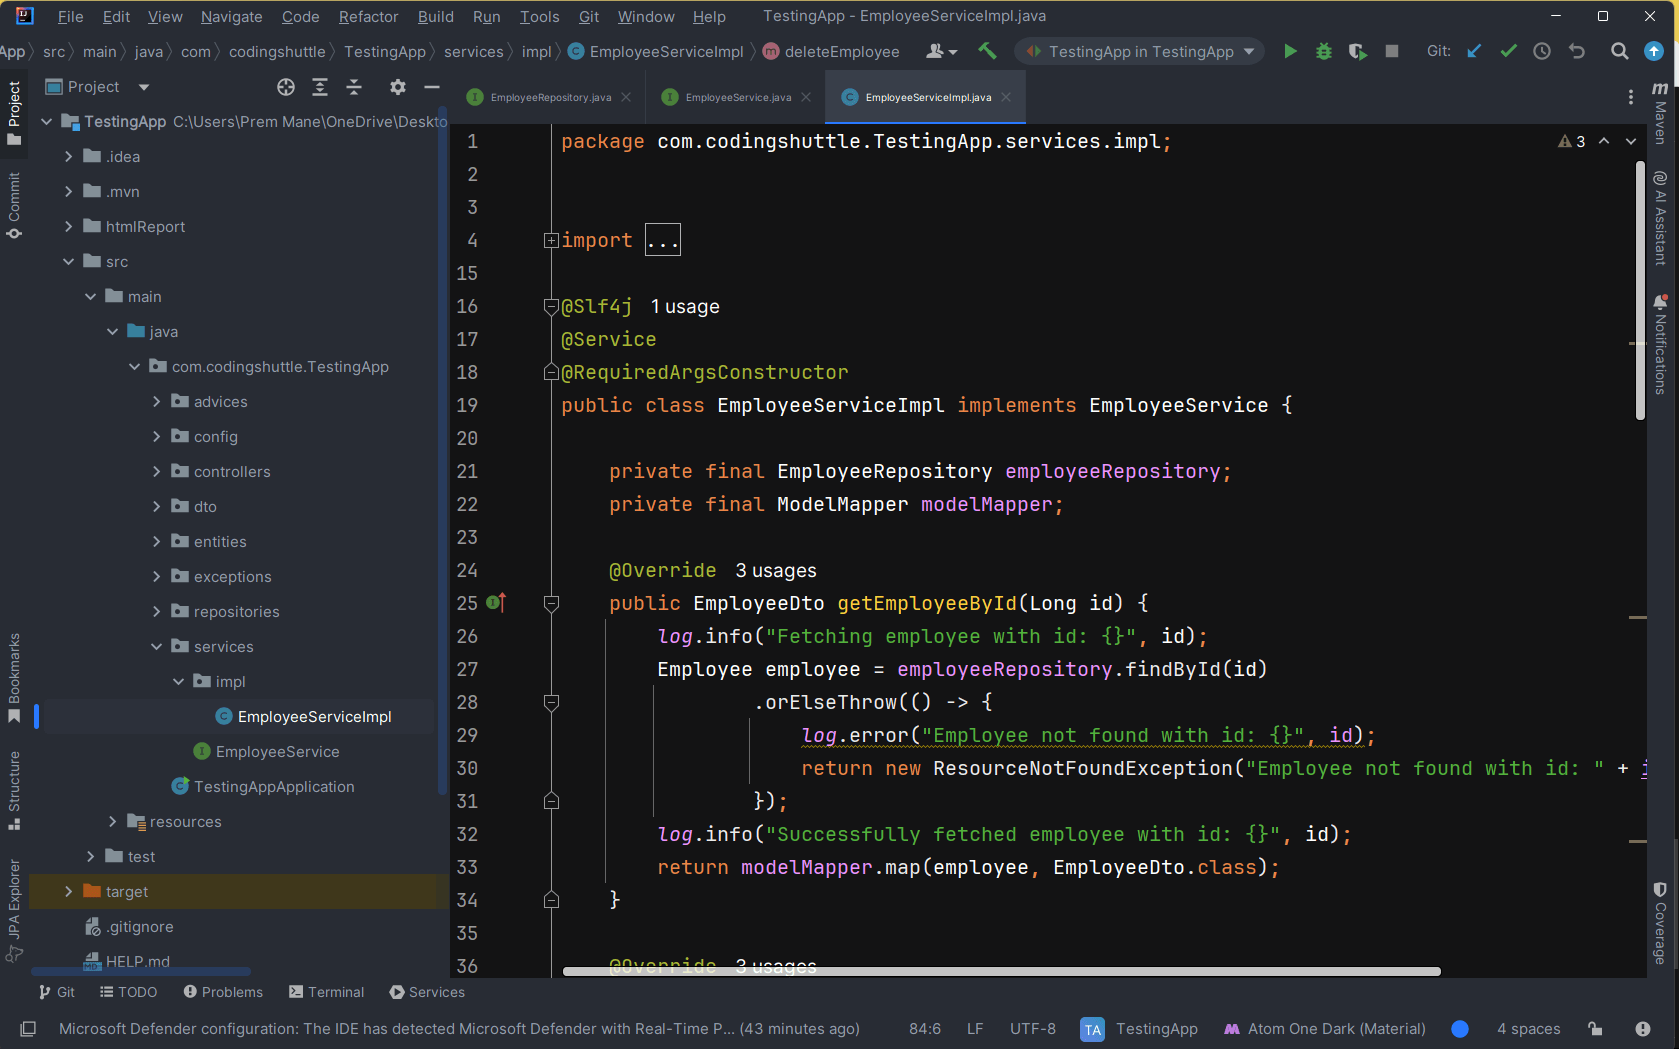
services#
Contains service classes that hold business logic.
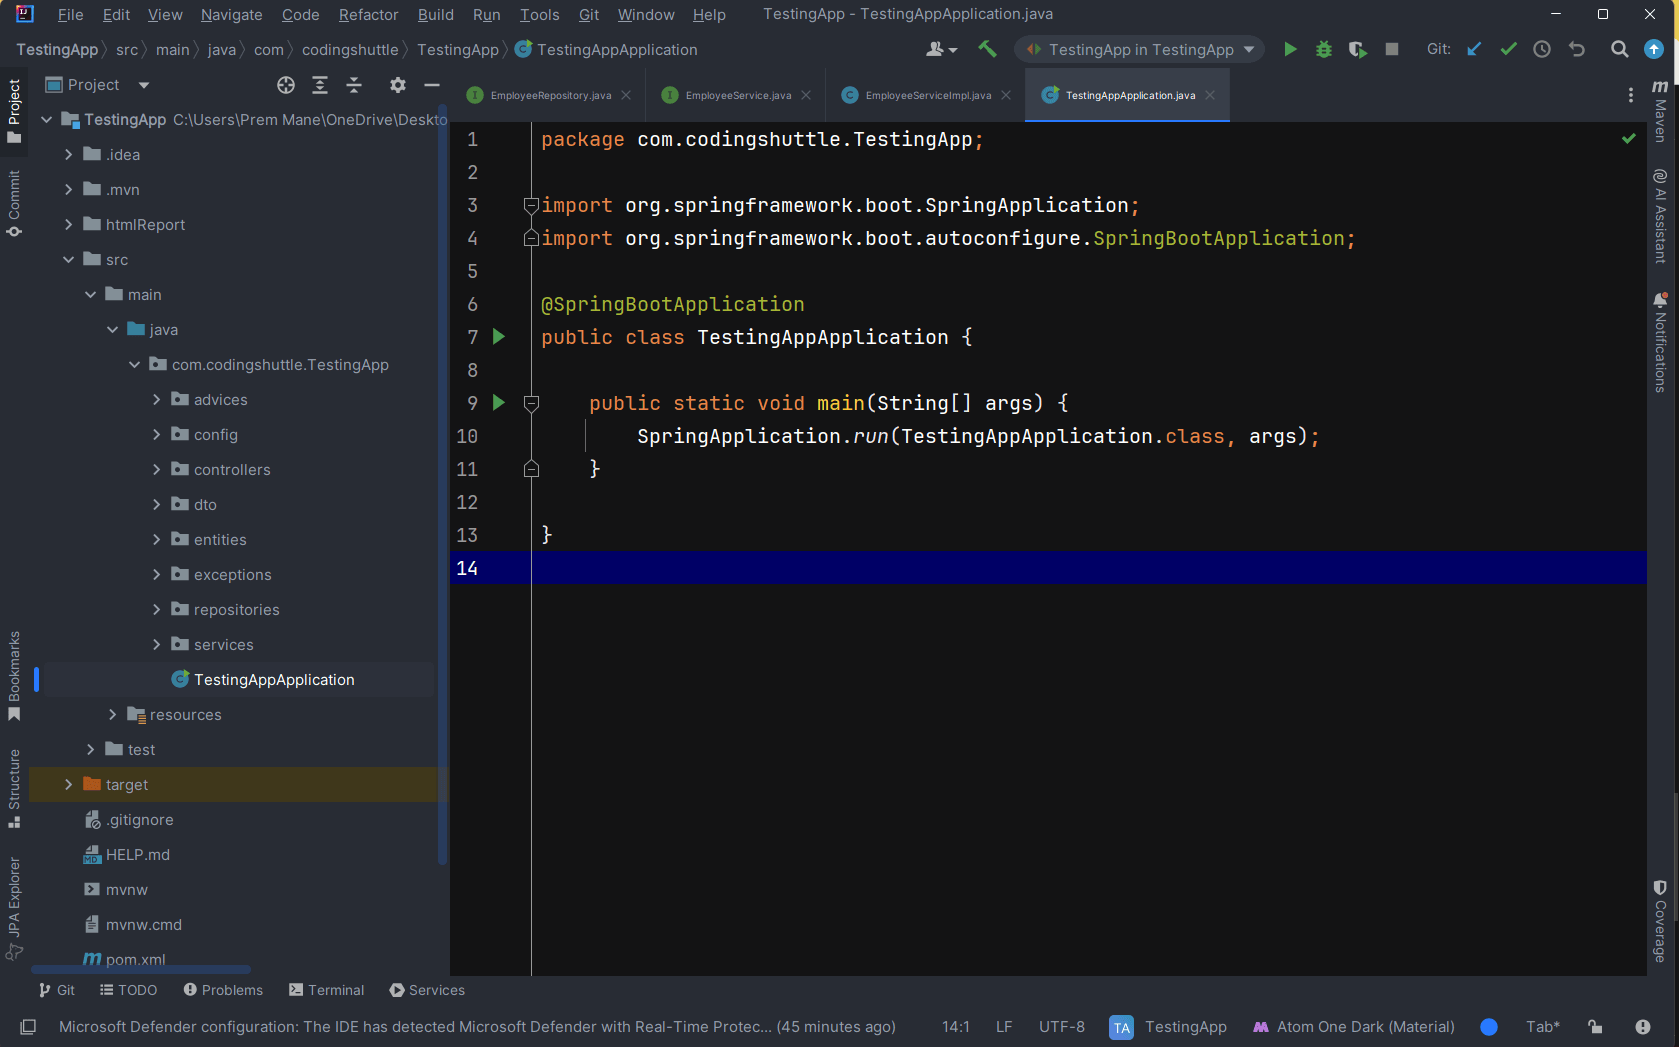
TestingApplication.java#
The main class that contains the main method to start the Spring Boot application.
src/main/resources: Contains configuration files and other resources. Configuration file for application settings like database connection details, server port, etc.
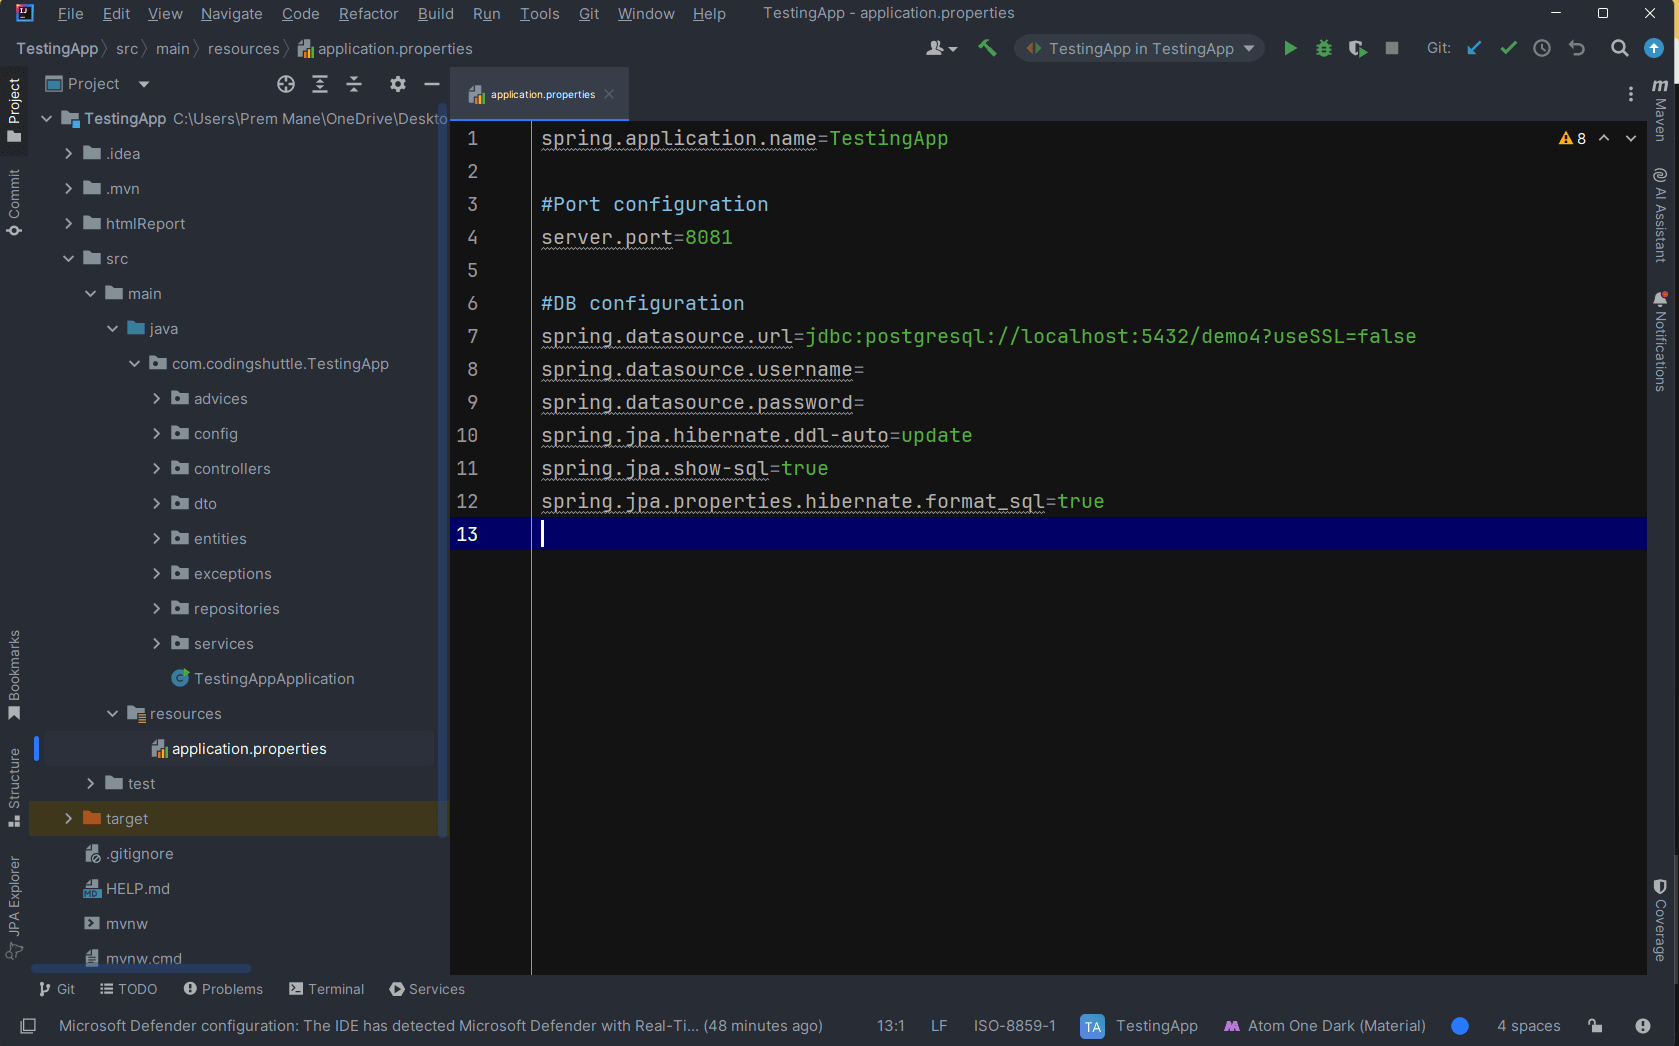
application.properties#
Configuration file for application settings like database connection details, server port, etc.
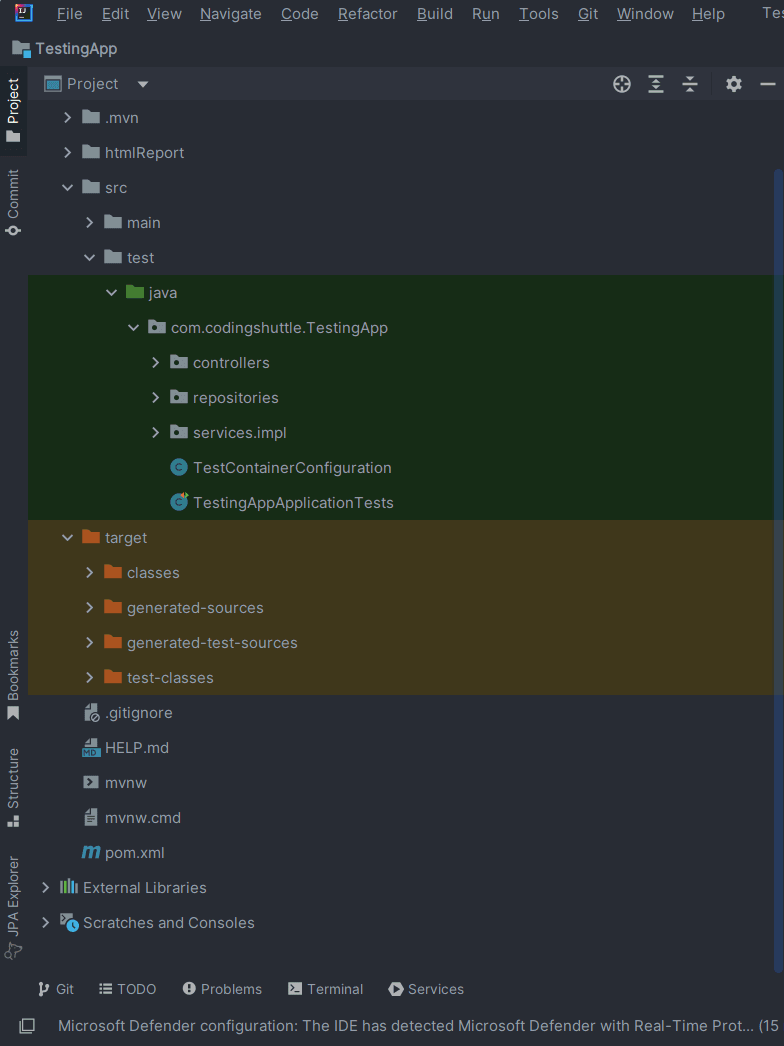
src/test Folder#
- src/test/java: Contains Java test classes. These are used to write unit and integration tests for your application.
- src/test/resources: Contains resources needed for tests, like test configuration files.
target Folder#
- classes: Contains compiled
.classfiles for the application code. - generated-sources: Contains sources generated by tools during the build process.
- generated-test-sources: Contains sources generated for test purposes.
- test-classes: Contains compiled
.classfiles for test code.
Miscellaneous#
- .gitignore: Specifies files and directories that should be ignored by Git version control.
- Help.md: This file might be used for documentation or notes related to the project. It is not a standard file but can be useful for project-specific information.
External Libraries and Scratches#
- External Libraries: This section typically appears in IDEs like IntelliJ IDEA and shows the external libraries and dependencies included in the project.
- Scratches and Consoles: This is an IDE-specific feature for temporary code snippets and interactive consoles.
In this article, we walked through the process of creating your first Spring Boot project, starting from initializing the project using Spring Initializr to adding code and running the application with a simple "Hello" message. We explored the CommandLineRunner interface and its use in Spring Boot applications. Additionally, we examined the standard directory structure of a Spring Boot application using an employee management project as an example, explaining the significance of each folder and file. By following these steps, you now have a clear understanding of how to set up, structure, and run a basic Spring Boot project.