Configuring Kafka with Spring Boot
In our previous blogs, we explored Kafka's architecture, installed Kafka, and gained a basic understanding of how it operates. Now, let's take the next step by setting up Kafka in a Spring Boot application. In this blog, we'll learn how to configure Kafka and use it effectively within a Spring Boot project.
Creating dummy microservices#
Create two dummy microservices :
- User microservice
- Notification microservice
While creating this microservices from spring initializer you have to add Kafka dependency in-order integrate Kafka in our application.
Dependency name:- Spring for Apache Kafka
Using Kafka in User and Notification Microservices#
We will create a simple endpoint in the user-service to send messages. When this endpoint is hit with a message in the path, Kafka will publish the message to the topic user-random-topic. Here, the user-service will act as a producer, generating events for the topic and sending them to the Kafka broker. The broker will then assign the message to one of the topic's partitions in a round-robin fashion.
The notification-service will act as a consumer, listening to events from the topic user-random-topic and consuming the messages. For simplicity, we will log the consumed messages to the console.
Adding Kafka Bootstrap Server Configuration#
Both user-service and notification-service need to know the location of the Kafka server to communicate with it. For this, we will add the necessary configuration in the application.yml file of both services. Ensure that the Kafka server is up and running on port 9092. We will also configure the topic user-random-topic as shown below:
This configuration enables both services to connect to the Kafka server and interact with the specified topic.
Configuring User Service as a Kafka Producer#
To enable the user-service to send messages to Kafka, add the following endpoint to user controller class:
The above code defines a POST endpoint at /users/{message}, which allows the user-service to send messages to a Kafka topic. The topic name is dynamically fetched using the @Value annotation from the application properties. Inside the sendMessage method, a loop iterates 10 times to send messages to the specified Kafka topic. Each message includes a key (i % 3) to ensure messages are evenly distributed across partitions, and the message content is dynamically appended with the loop index (message + i). The KafkaTemplate is used to interact with Kafka, queuing the messages efficiently. Once all messages are queued, the endpoint returns a success response, confirming that the operation was completed. This configuration enables the user-service to act as a Kafka producer, sending multiple messages to the specified topic with ease.
Configuring the Kafka Topic and Partitions#
To configure the Kafka topic and its partitions, add the following configuration to the application startup. This setup ensures that if a topic named user-random-topic does not already exist with 3 partitions, it will be created. If the topic already exists, the configuration will not create it again it will simply skip it.
Run User Service#
Once you have completed all the previous steps, run your user-service. It will connect to the Kafka server, and you should see logs similar to the following:
This log confirms that the user-service has successfully connected to the Kafka server and the application has started without issues. You should now be able to send messages to Kafka using the endpoint we configured earlier.
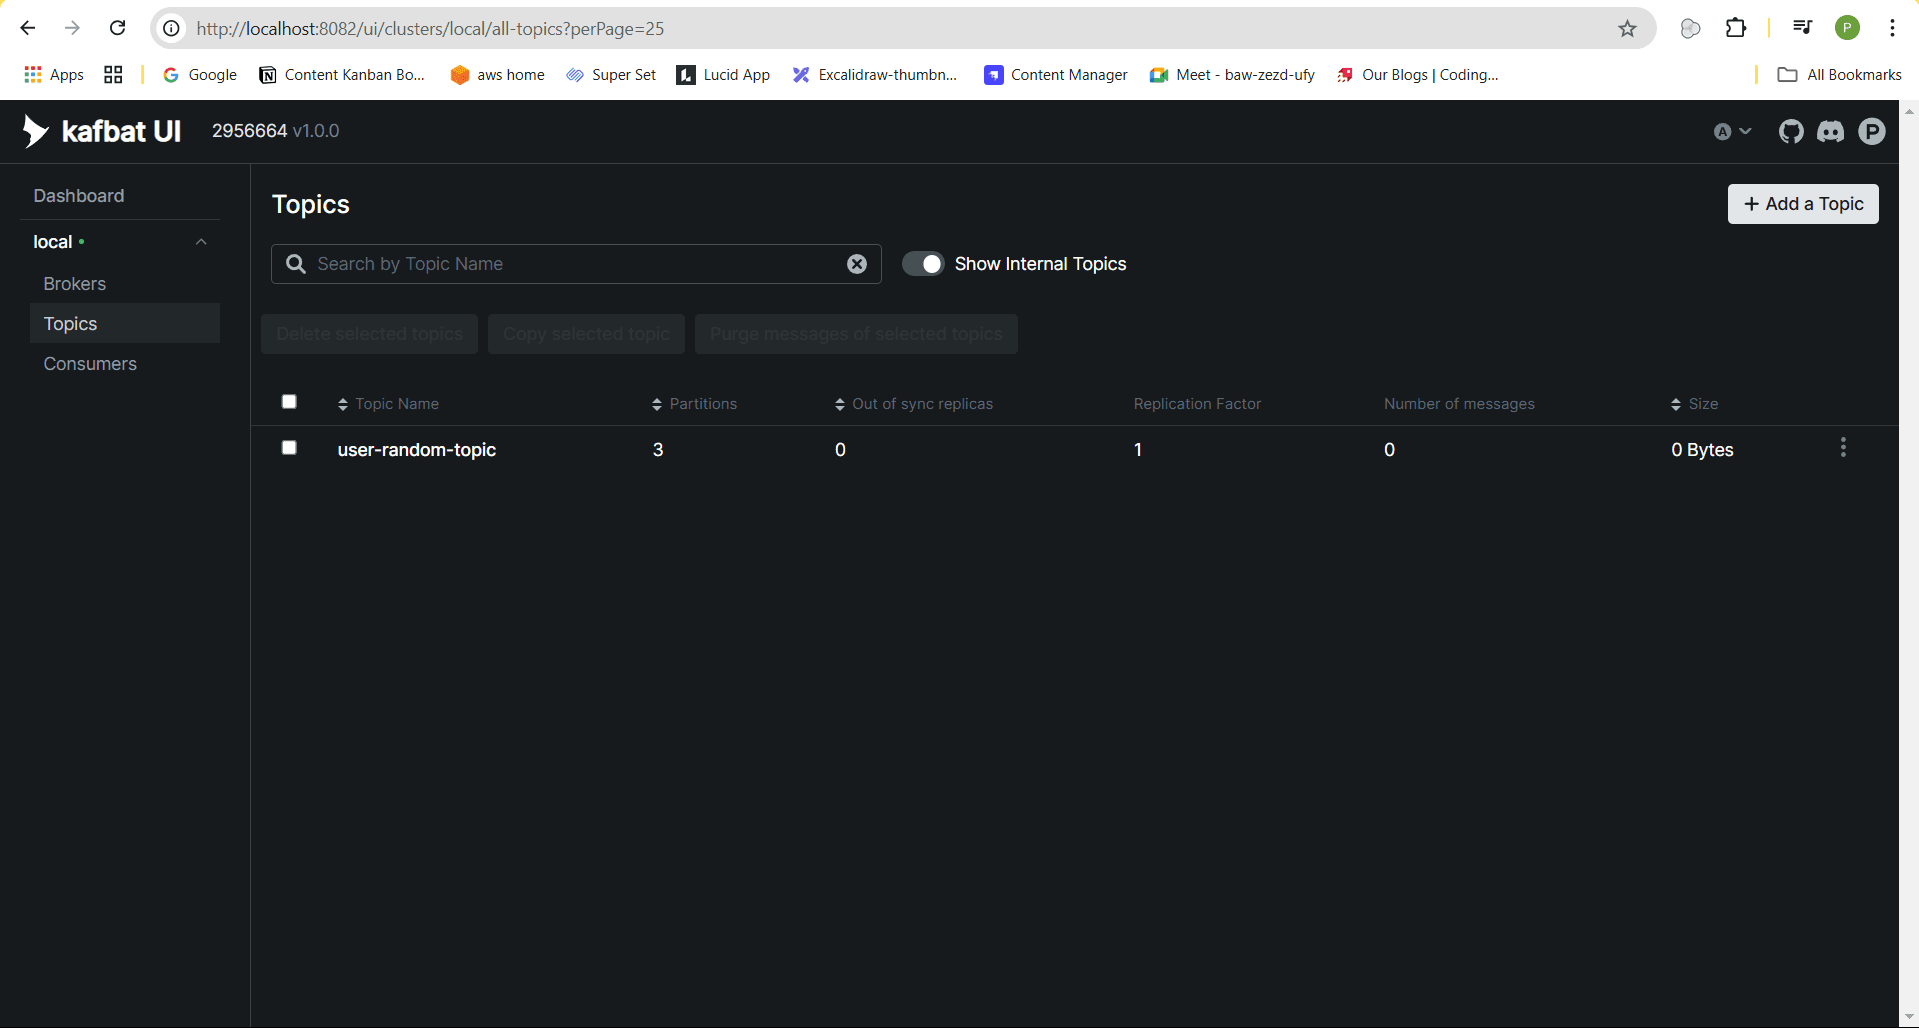
In Kafbat UI you will see the topic “user-random-topic” is created with 3 partition and 1 replica.
Configuring Notification service as Consumer#
Now, let’s configure the notification-service to listen for all messages from the user-random-topic. First, add the following configuration in the application.yml file to set up the Kafka consumer and specify the consumer group ID:
This configuration connects the notification-service to the Kafka server running on localhost:9092 and sets the consumer's group ID to the service's application name. The consumer group ID ensures that messages from the topic are consumed by the appropriate service instances.
Creating the Kafka Consumer Service#
Next, create a Kafka consumer service that will log all the messages received from the user-random-topic. This service will listen for messages from the topic and log them for further processing or debugging.
In this service, three methods are annotated with @KafkaListener, each listening to the same topic, user-random-topic. Whenever a message is sent to the topic, these methods will receive and log the message. Each method logs the message with a distinct tag (e.g., handleUserRandomTopic1, handleUserRandomTopic2, and handleUserRandomTopic3), which helps to identify the source of the message in the logs.
Note: In practice, you may want to combine these listeners or handle the messages in a more centralized way. This example illustrates different listeners for demonstration purposes.
Run Notification Service#
Once you have completed all the above steps, run your notification-service. Upon successful startup, you should see logs similar to the following at end:
These logs confirm that the notification-service has successfully connected to Kafka and is now consuming messages from the assigned partitions of the user-random-topic. Each log entry shows which partition the service is currently listening to, ensuring that the consumer is ready to process incoming messages.
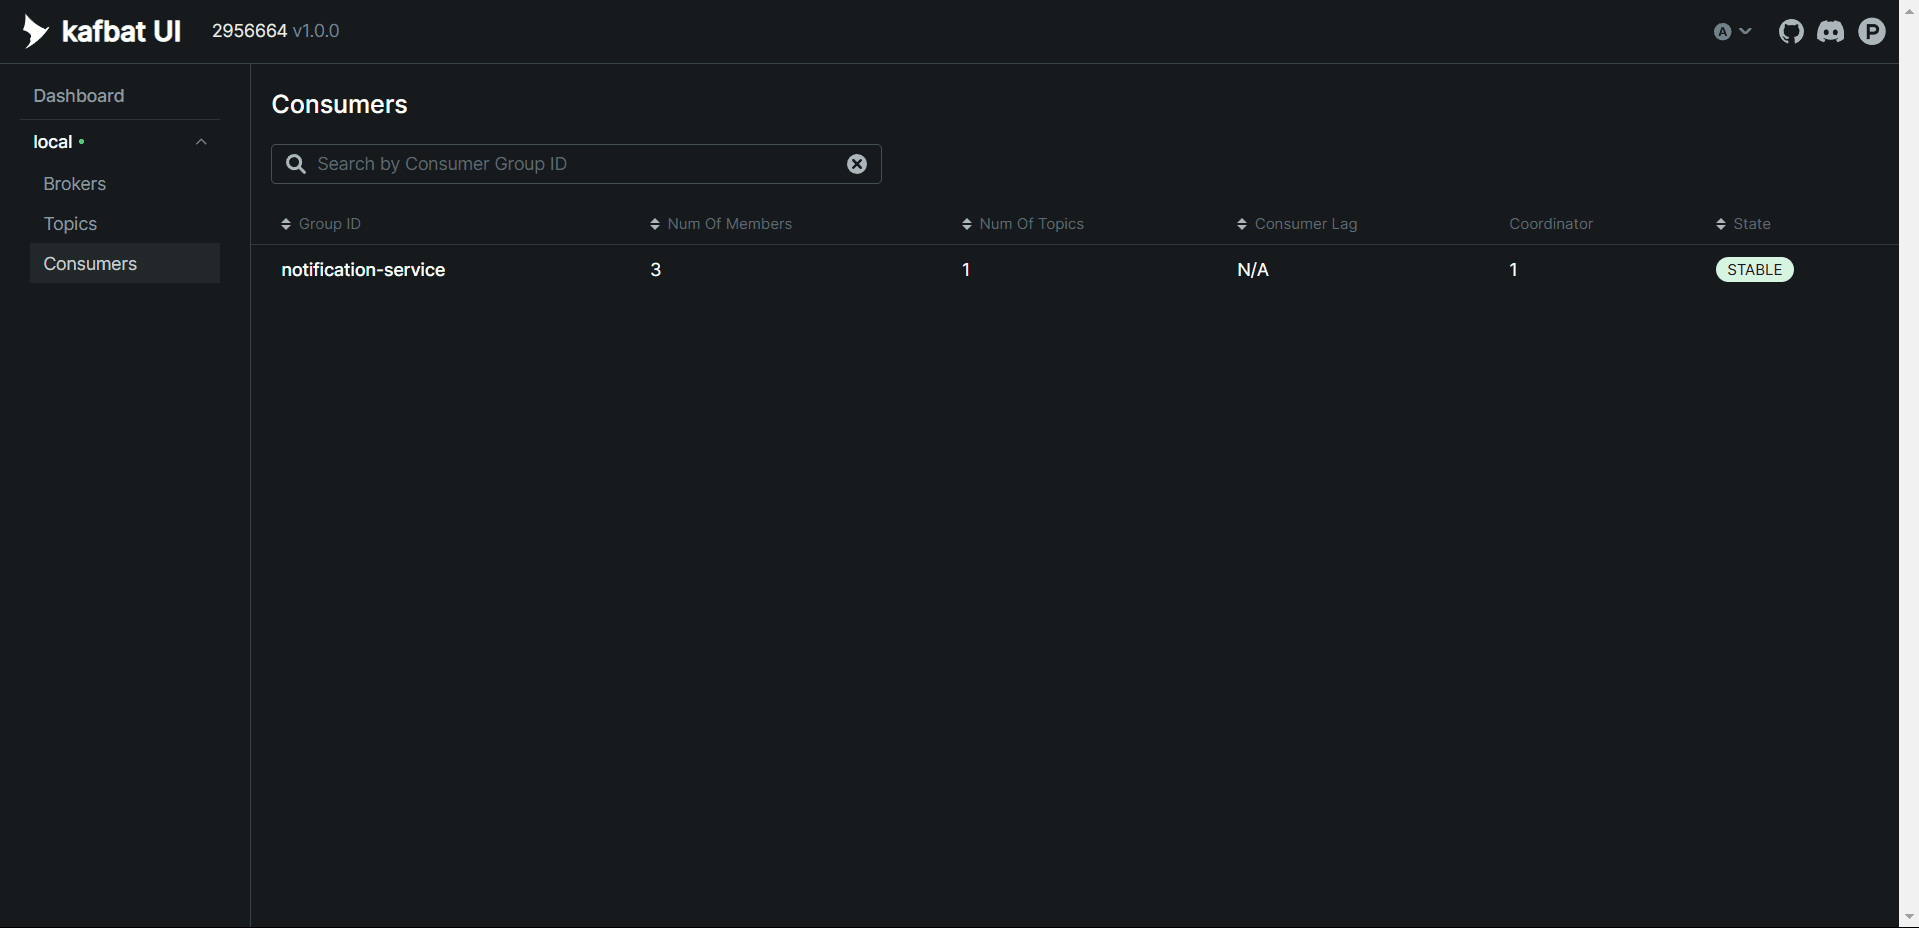
In Kafbat UI you will see that consumer has been created with group-id “notification-service” and Num of members i.e partition as 3.
Demonstration#
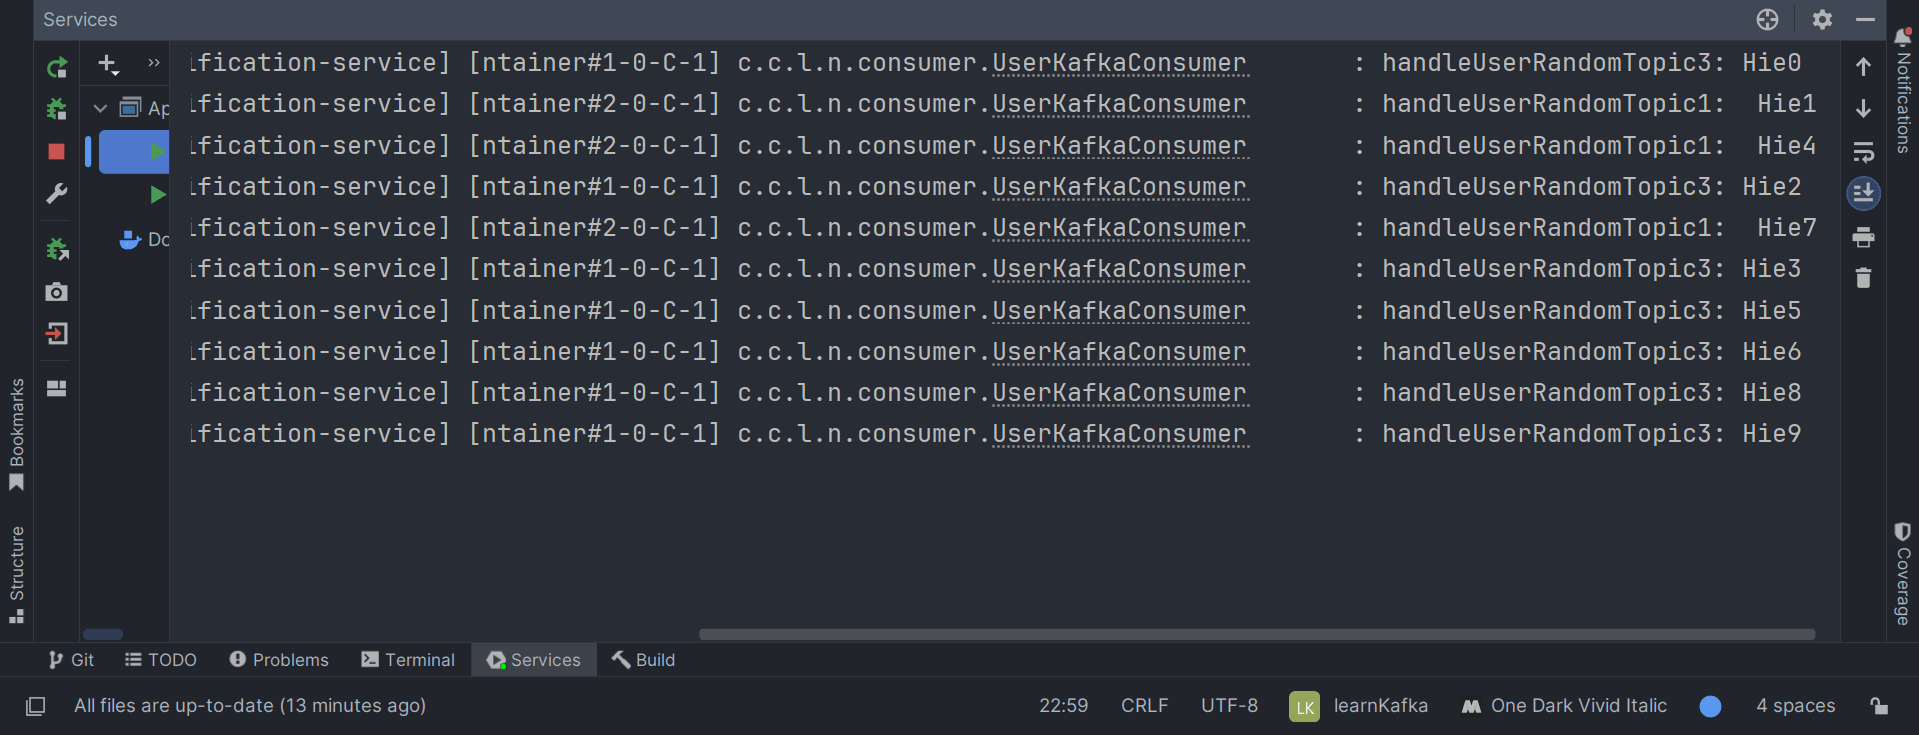
To view the logs from the notification-service, hit the "Send Message" endpoint from localhost with the message "Hie".
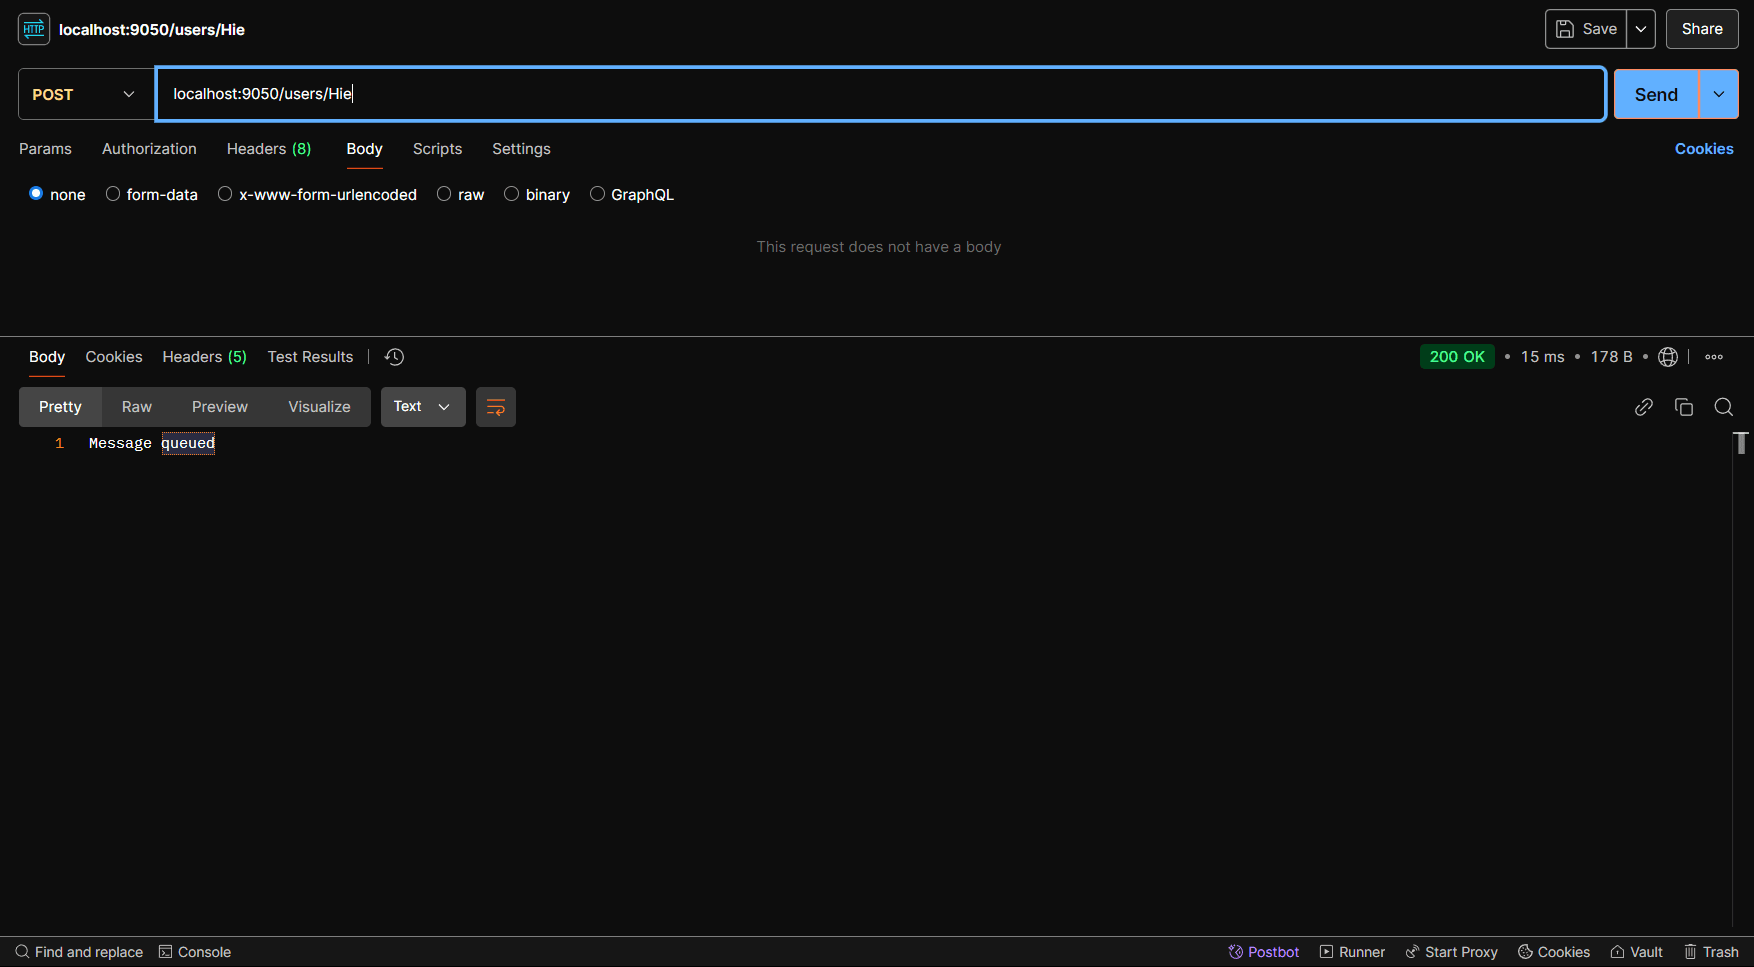
You will receive a 200 OK response with the body "Message queued". At this point, the user-service will send 10 messages to the user-random-topic, iterating through a loop 10 times to produce these messages.
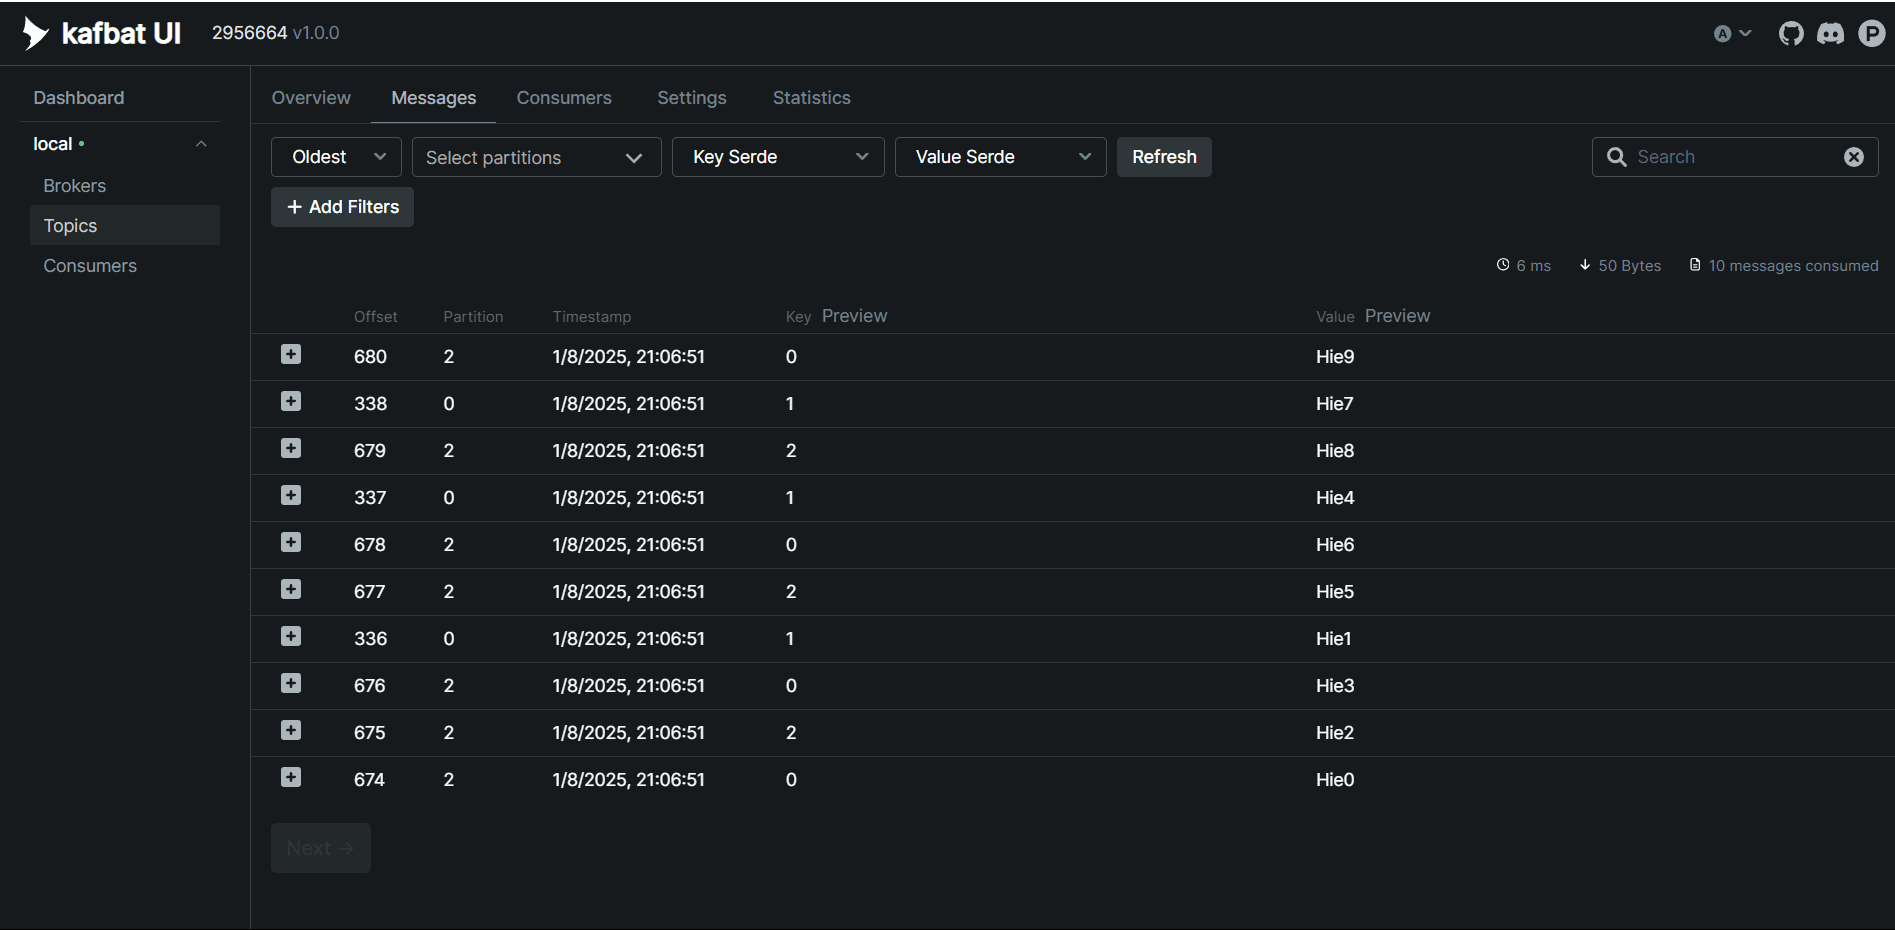
The notification-service will then consume these messages from the topic and log them to the console.
Conclusion#
In this blog, we configured Kafka with Spring Boot to establish a simple producer-consumer model between the user-service and notification-service. We learned how to set up Kafka, create topics, and enable message communication between microservices. This integration demonstrates the power of Kafka in building scalable, decoupled systems for efficient message processing.